The Boho Baker: Perfect Pork Pies
Written on June 21st, 2019
Hello there, bakers!
I was thrilled with the response and lovely positive comments I received after last month’s boozy breakfast bonanza of a blog. I love that so many of you gave it a go, particularly those who had never made jam before. However, after a month of focusing on sweet treats and sugary bakes (not that I consider either to be a bad thing), I was so pleased to receive this request from Steve Hartley:
“Hello, my grandmother used to make wonderful porkpies using a water pastry. Do you have a recipe for anything similar? How do you make the jelly? I haven’t attempted to make one yet but I’m keen to try”
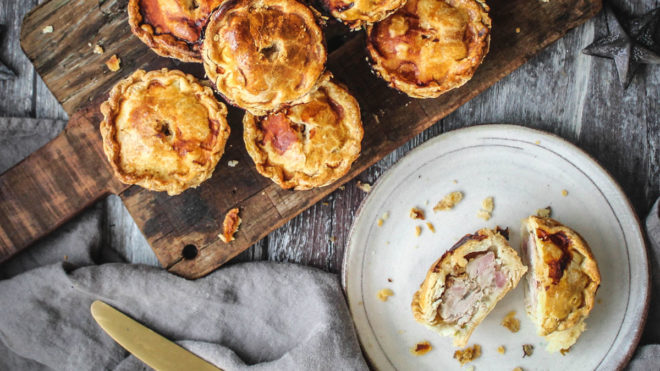
There are a couple of reasons why I couldn’t wait to get stuck into this: firstly, pork pies are ridiculously underrated. Crisp, golden pastry, filled with delicious pork encased in soft jelly. You can take them on picnics, throw one in your lunchbox, or, as my grandparents used to serve them up, given a quick blast in the microwave and serve warm (don’t knock it until you’ve tried it). The other reason I’m pleased with covering this is because certain baking television shows have given hot water pastry a bit of a bad reputation, insinuating that it is difficult and for the more advanced baker. It really riles me up when a contestant is making a pork pie and a sinister sounding voiceover chips in with “if the pie is in the oven for 10 seconds too long, the pastry will be RUINED”. No, it won’t be ruined. It may be a little darker in places, yes, but just whack a bit of sauce over the top and no one will no any different. Trust me.
What is hot water pastry?
The key difference between shortcrust and hot water pastry is that the latter uses a little hot water and melted lard to bind the dry ingredients together. Personally, I prefer this method to regular shortcrust because the extra fat and heat keeps the pastry lovely and pliable, giving you more time to work with it. It doesn’t split or crack as much as regular pastry, and you can even give it a little stretch by hand it if doesn’t fit into your pie tin right away.
Pork Pie Top Tips:
- If you’re planning on buying pork loin steaks for this recipe, don’t forget to factor in the weight of the bone when purchasing. 400g on the pack doesn’t equate to 400g of meat if there are large bones.
- Keep your butter in the fridge right up until you’re making the pastry. It’s so much easier to work with.
- I like to dust the inside of the pie tin with a little flour before adding the pastry. Some people use melted butter, but I find a dusting of flour is a little less of a faff.
- When you remove the pies from the oven, make sure you re-poke the hole in the top to allow it to drink up all that lovely jelly. As the pastry expands in the oven, the hole can often close slightly below the surface without you realising it. Always give it another poke before adding the gelatine stock liquid.
- Allow your pies to cool completely before removing them from the tin. The pastry contains a lot of liquid and fat that needs time to set as it cools. It you try to remove them any sooner, you run the risk of the top half of the pie tearing off. I have learnt this the hard way through both greed and impatience, and can assure you this can only be avoided by leaving the pie to cool completely.
Recipes:
Perfect Pork Pies:
You can use this recipe to create 12 small pork pies using a set of muffin tins, or you can use one 15cm round tin. You can also adapt this recipe to create a gala pie by using a rectangular tin and popping some peeled boiled eggs in the centre of the filling.
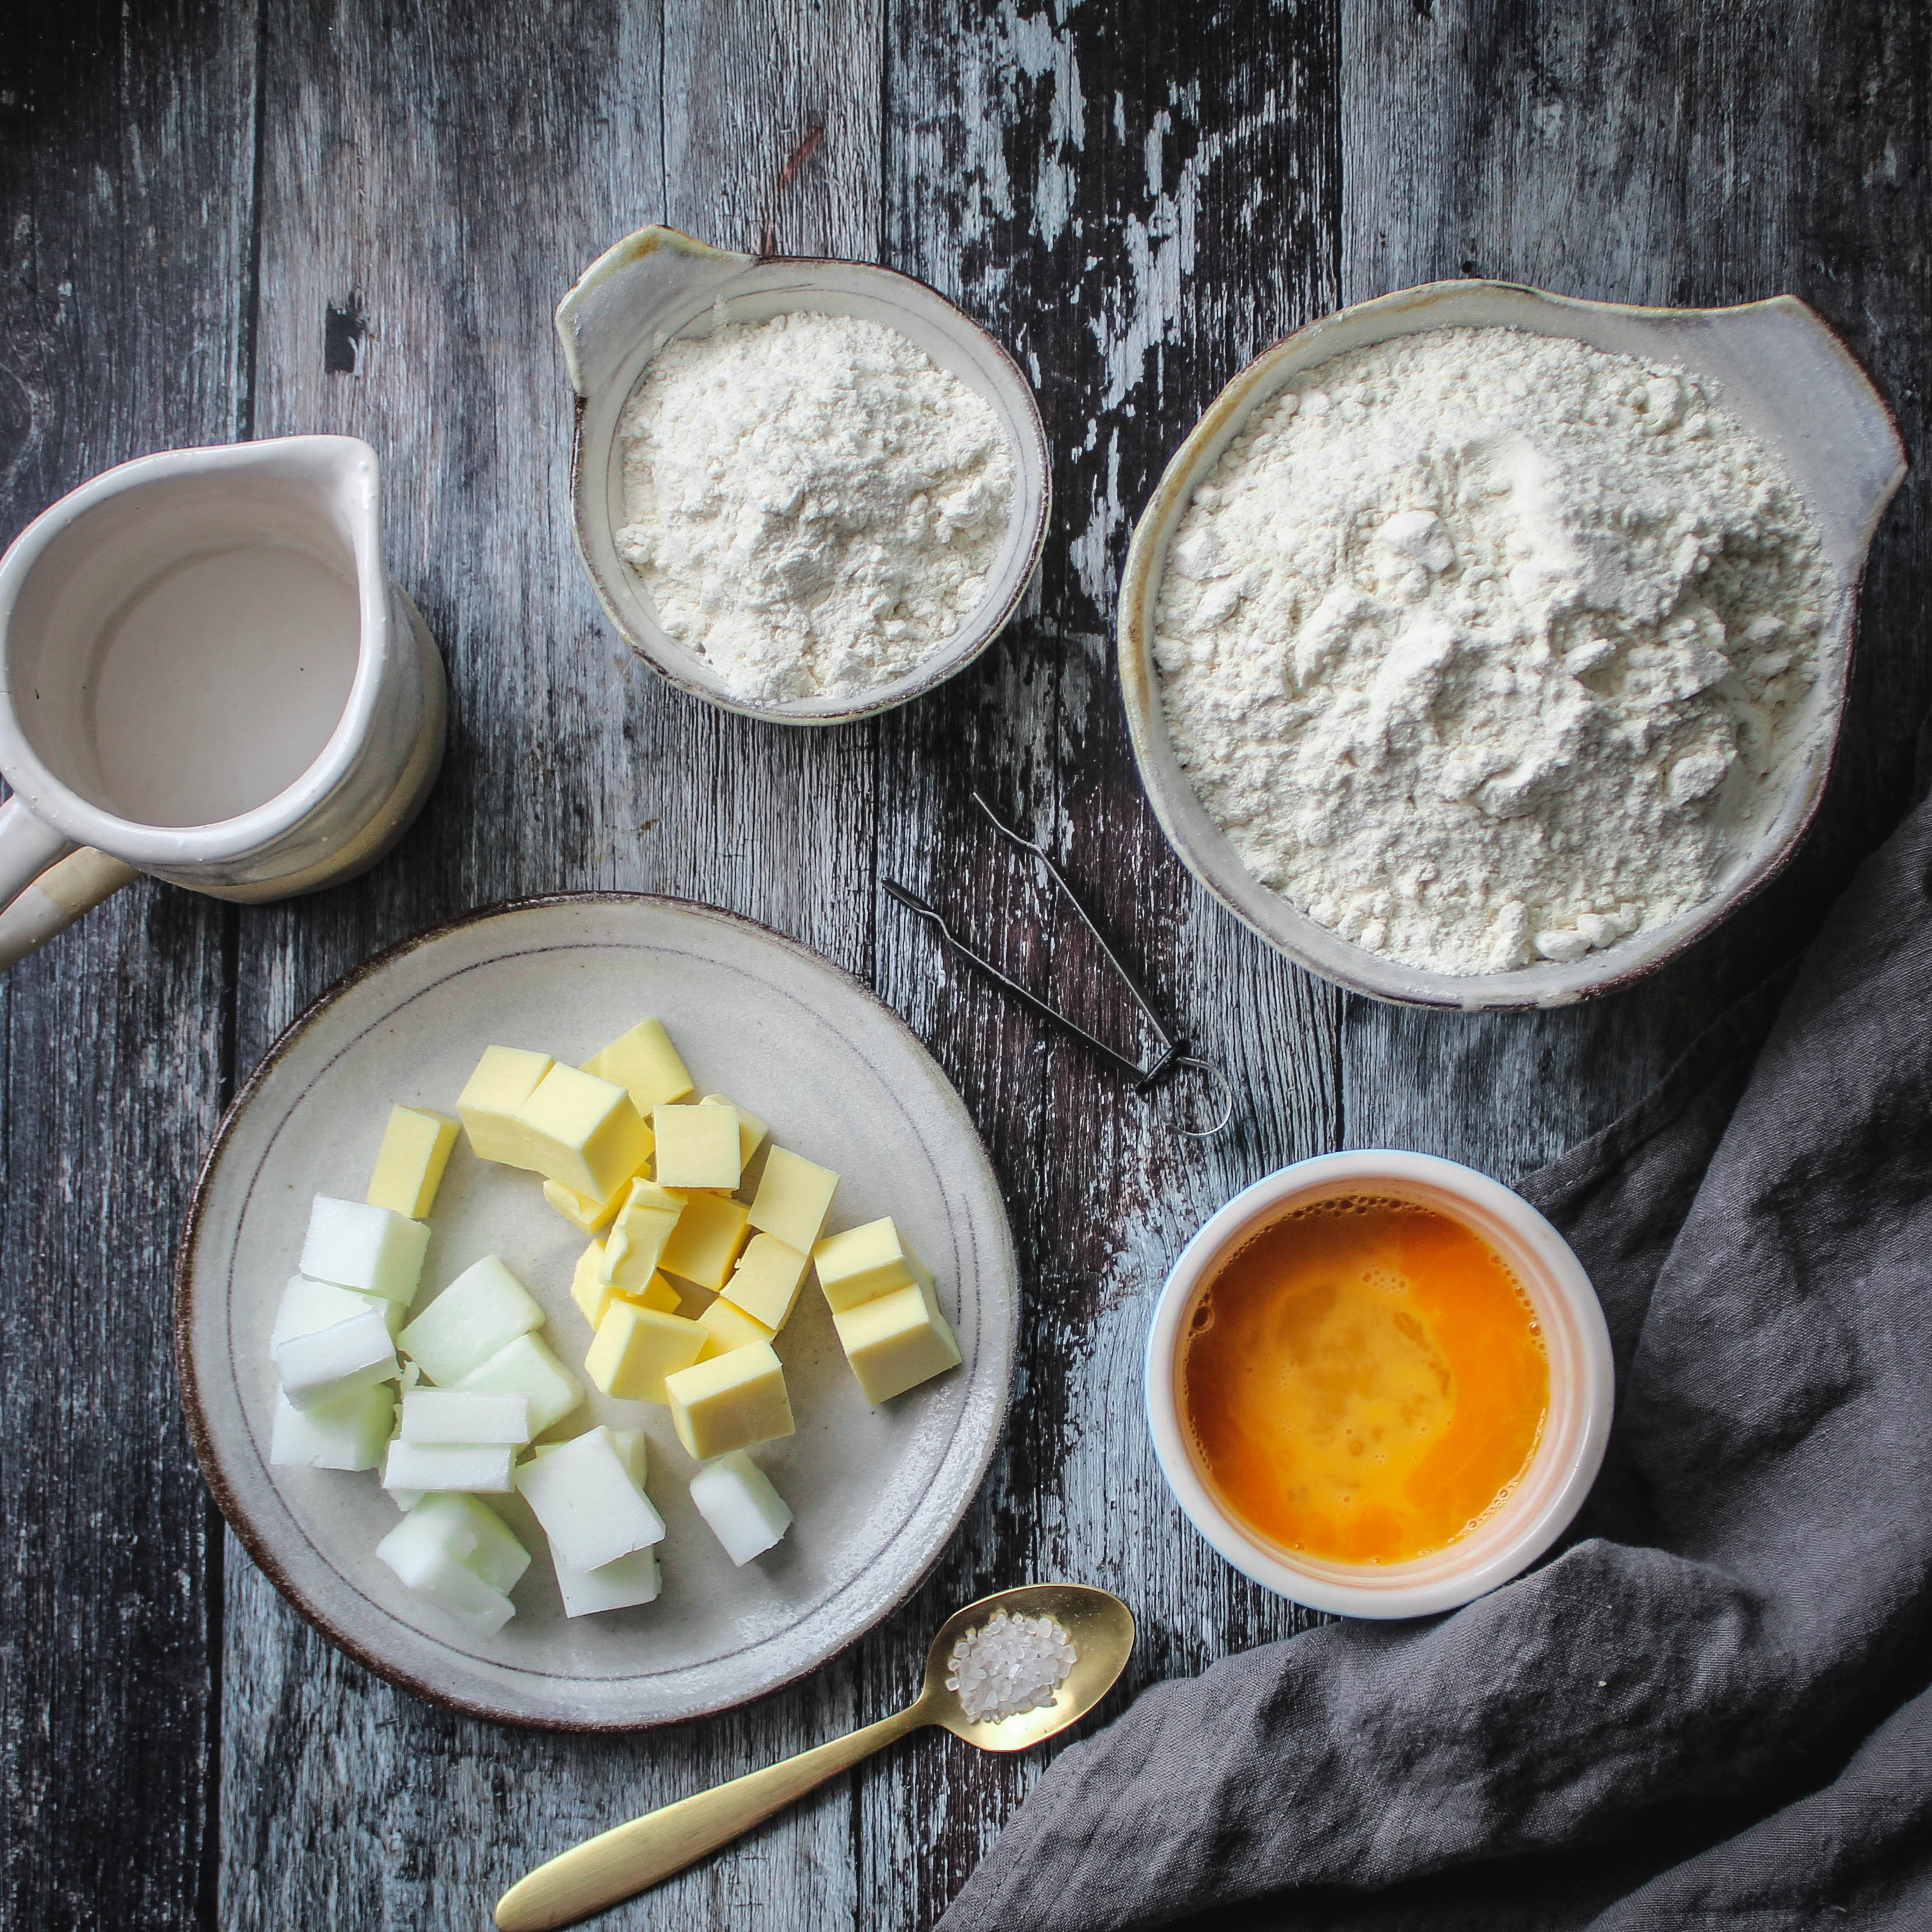
Pastry
265g plain flour (plus extra, for dusting)
55g unsalted butter, cubed
65g lard, cubed
1tsp salt dissolved in 135ml boiling water
1 beaten egg, to glaze
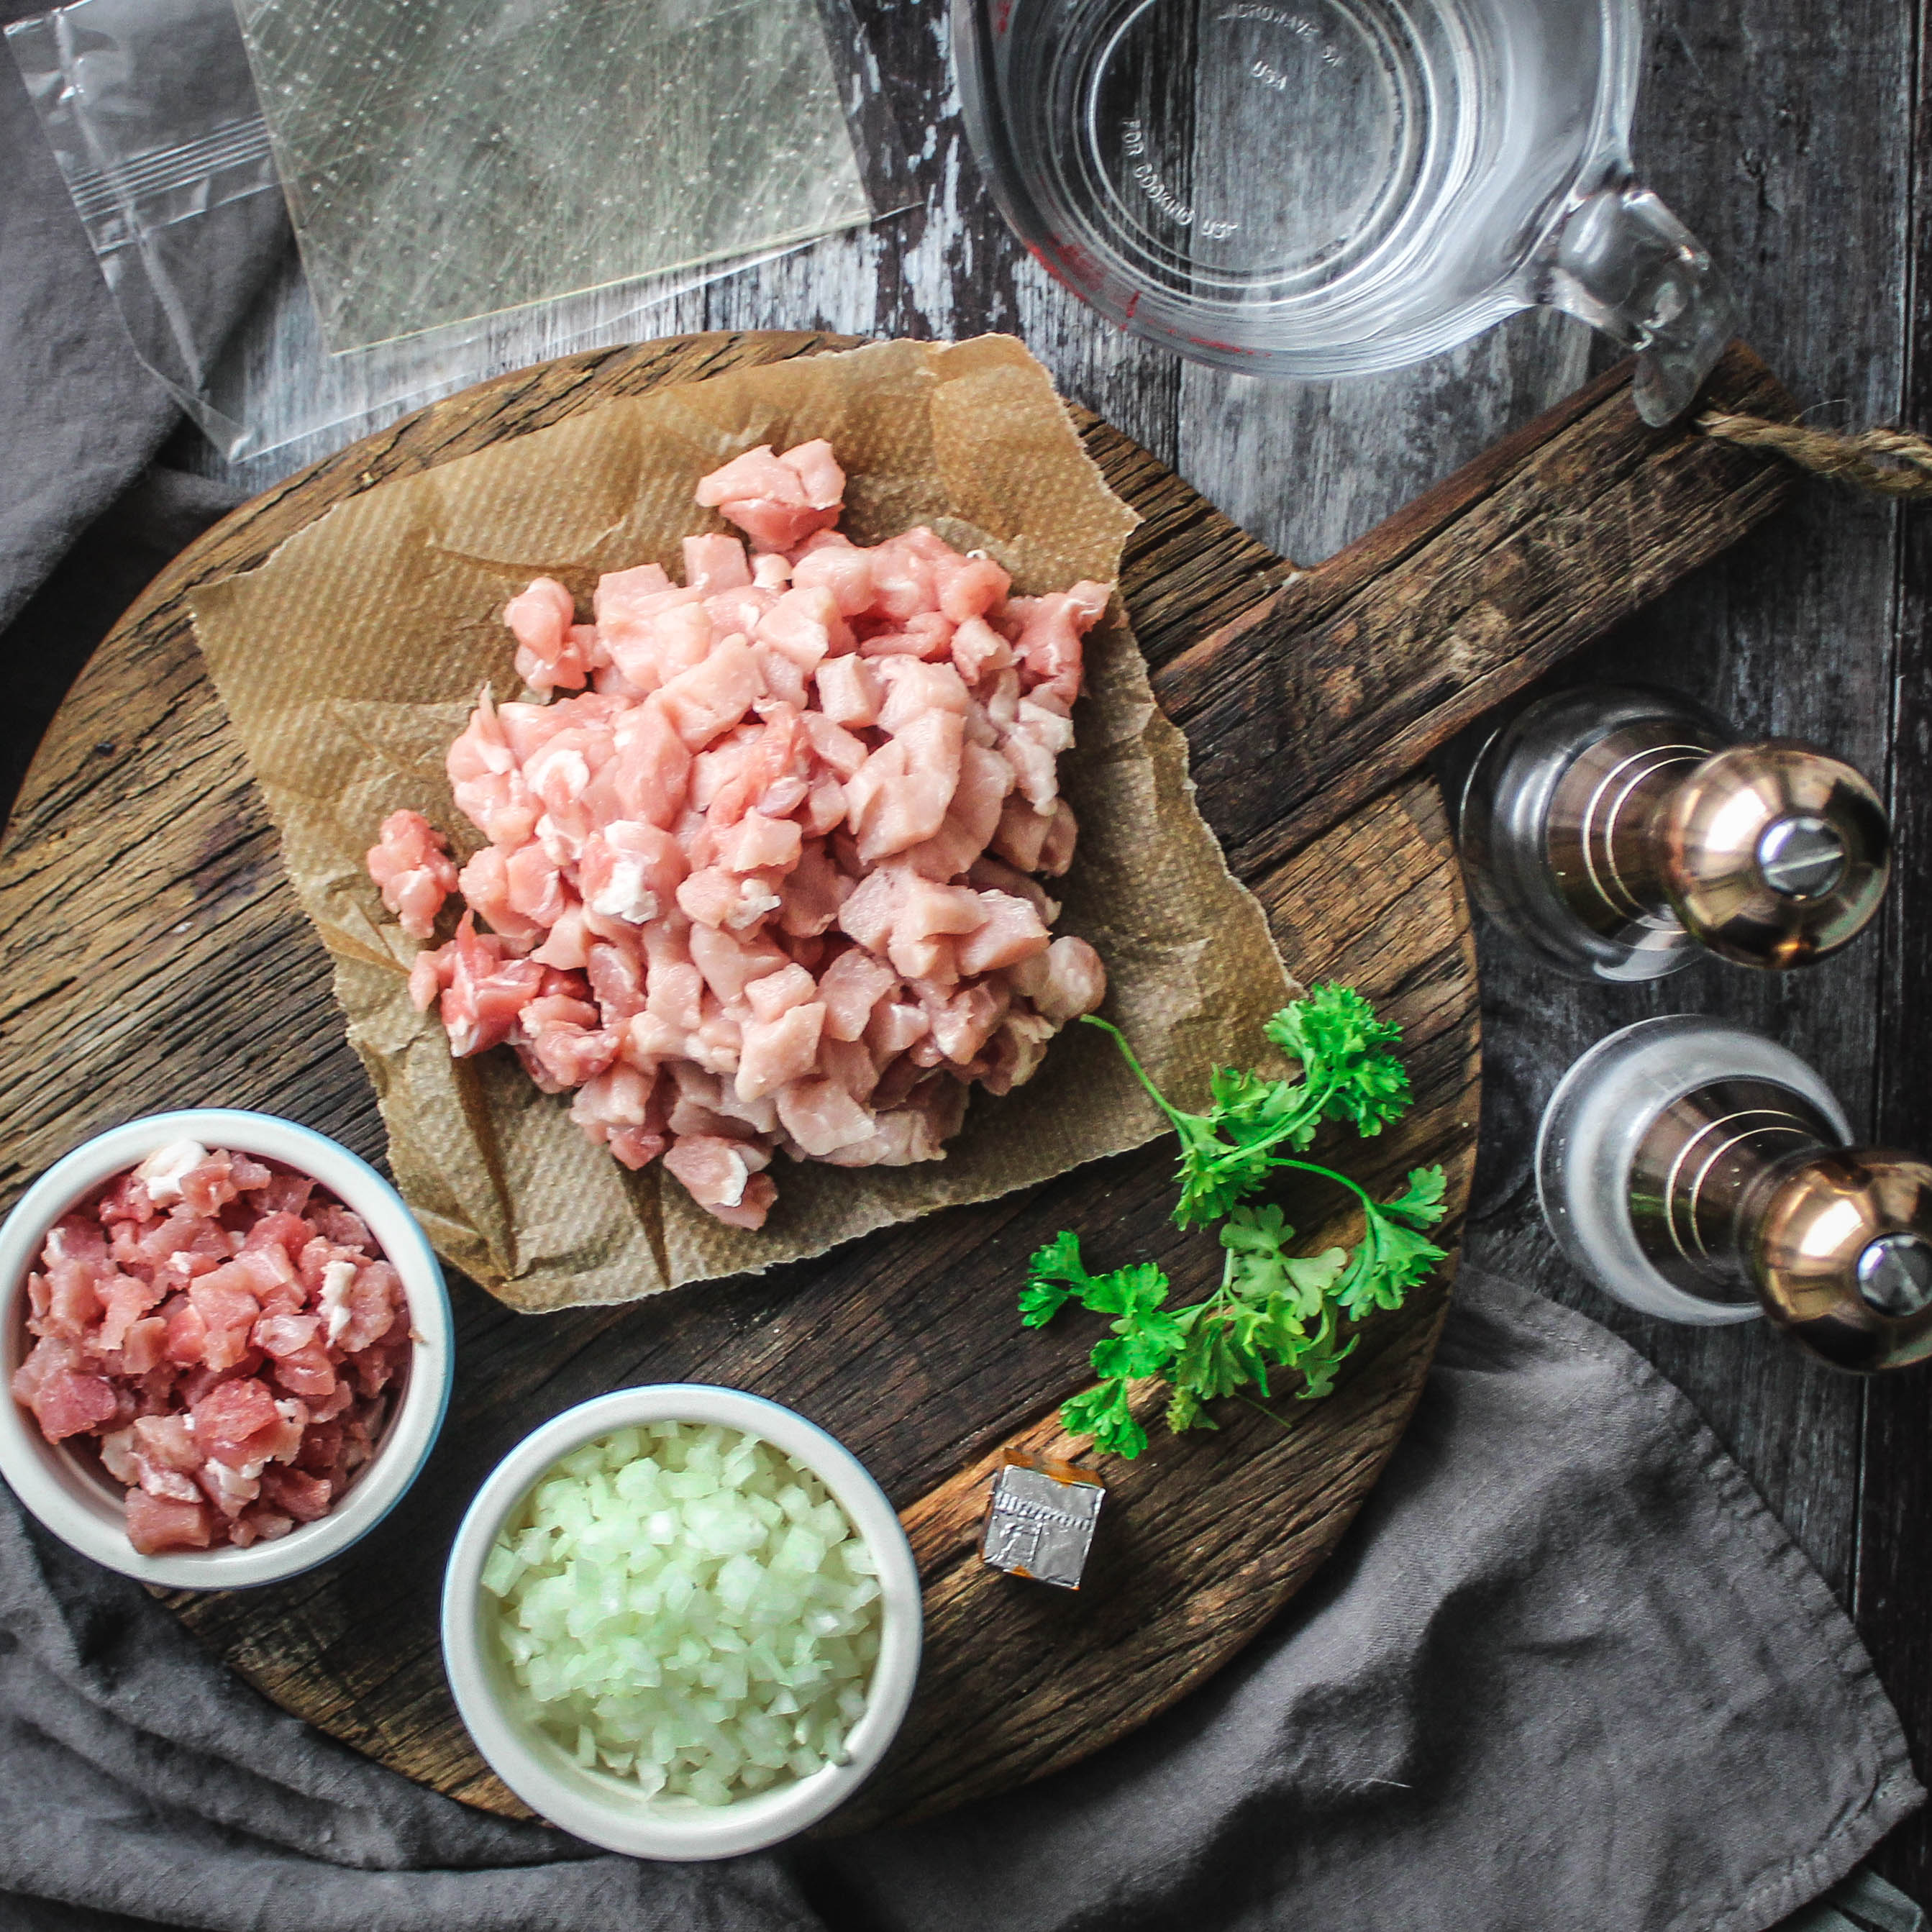
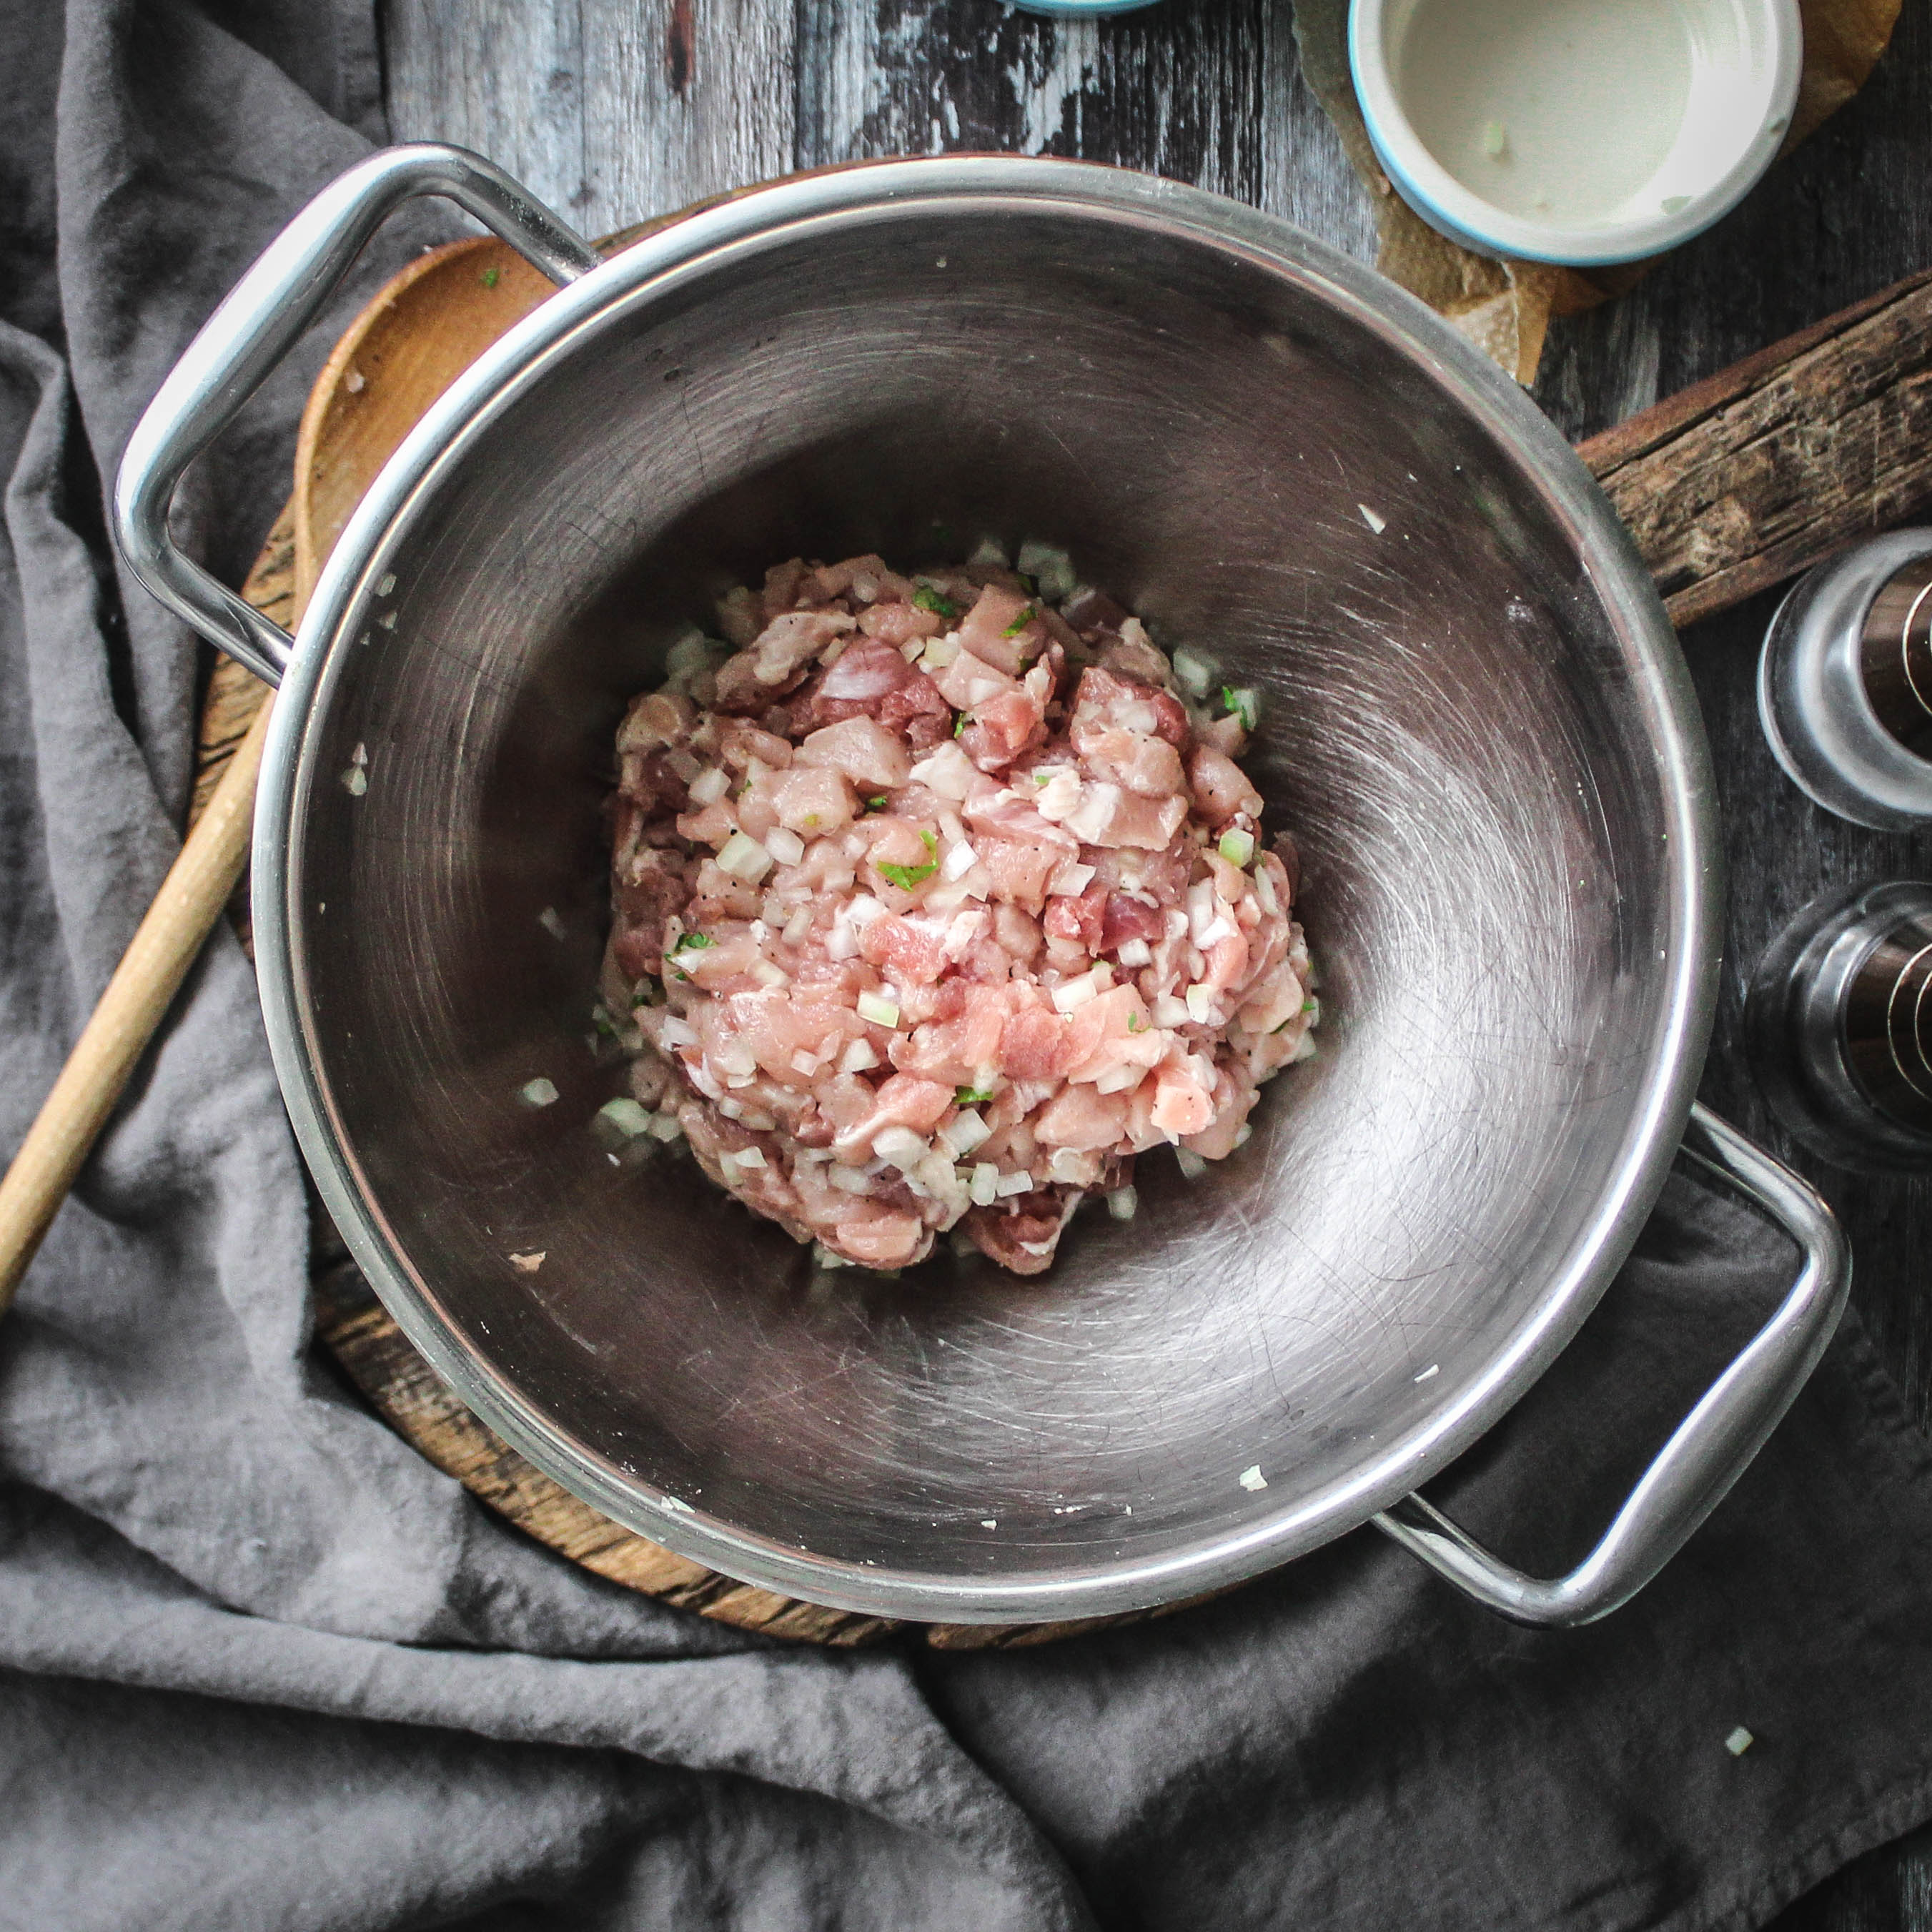
Filling:
400g pork loin (fat removed), finely chopped
100g unsmoked bacon, finely chopped
1 large onion, finely chopped
Salt and pepper, to season,
Handful of chopped parsley
1 large sheet leaf gelatine
1 chicken stock cube dissolved in 300ml boiling water
Method:
- Preheat the oven to 190C/170C (fan)/gas mark 5.
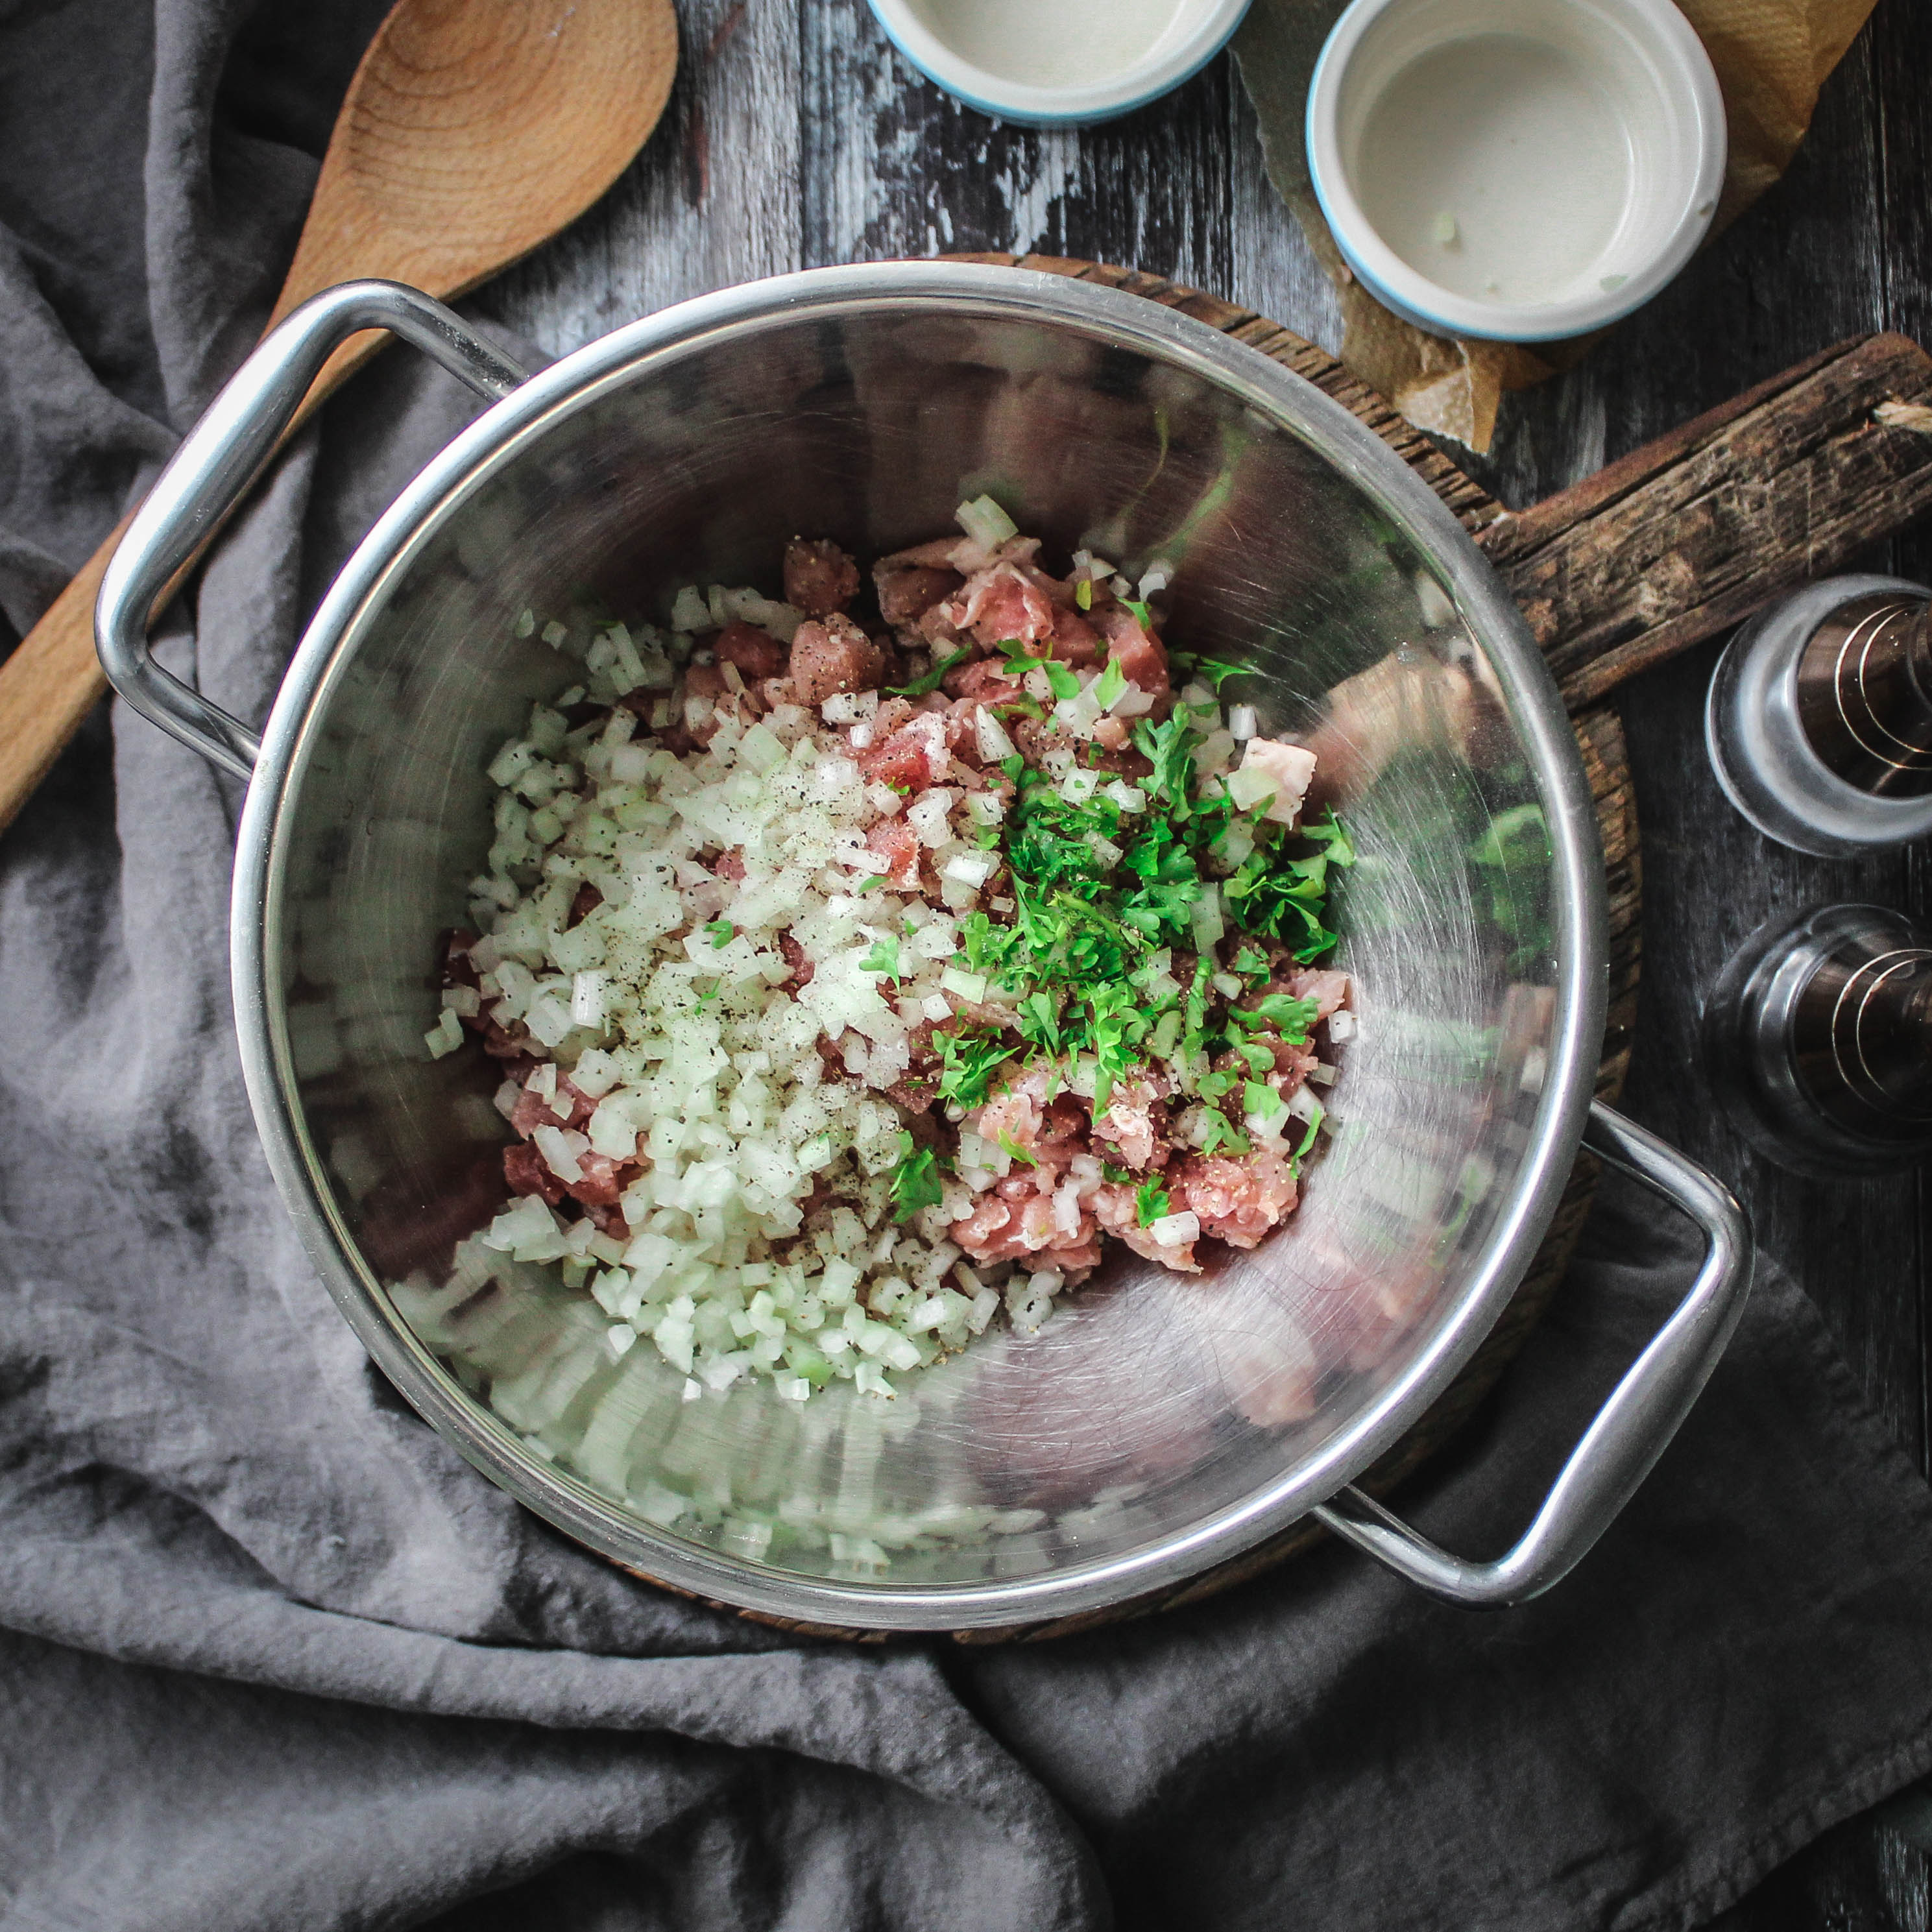
- In a large bowl, stir together all of the ingredients for the filling. If you’re not too squeamish, it really helps to get your hands in there to bring everything together. I like to go crazy on the seasoning, adding a good 5-10 grinds of both salt and pepper, but if you’re feeling cautious and want to check as you go, take a marble sized portion of the filling mixture and fry it up before tasting. When you’re happy with the level of seasoning, set the filling aside whilst you make the pastry.
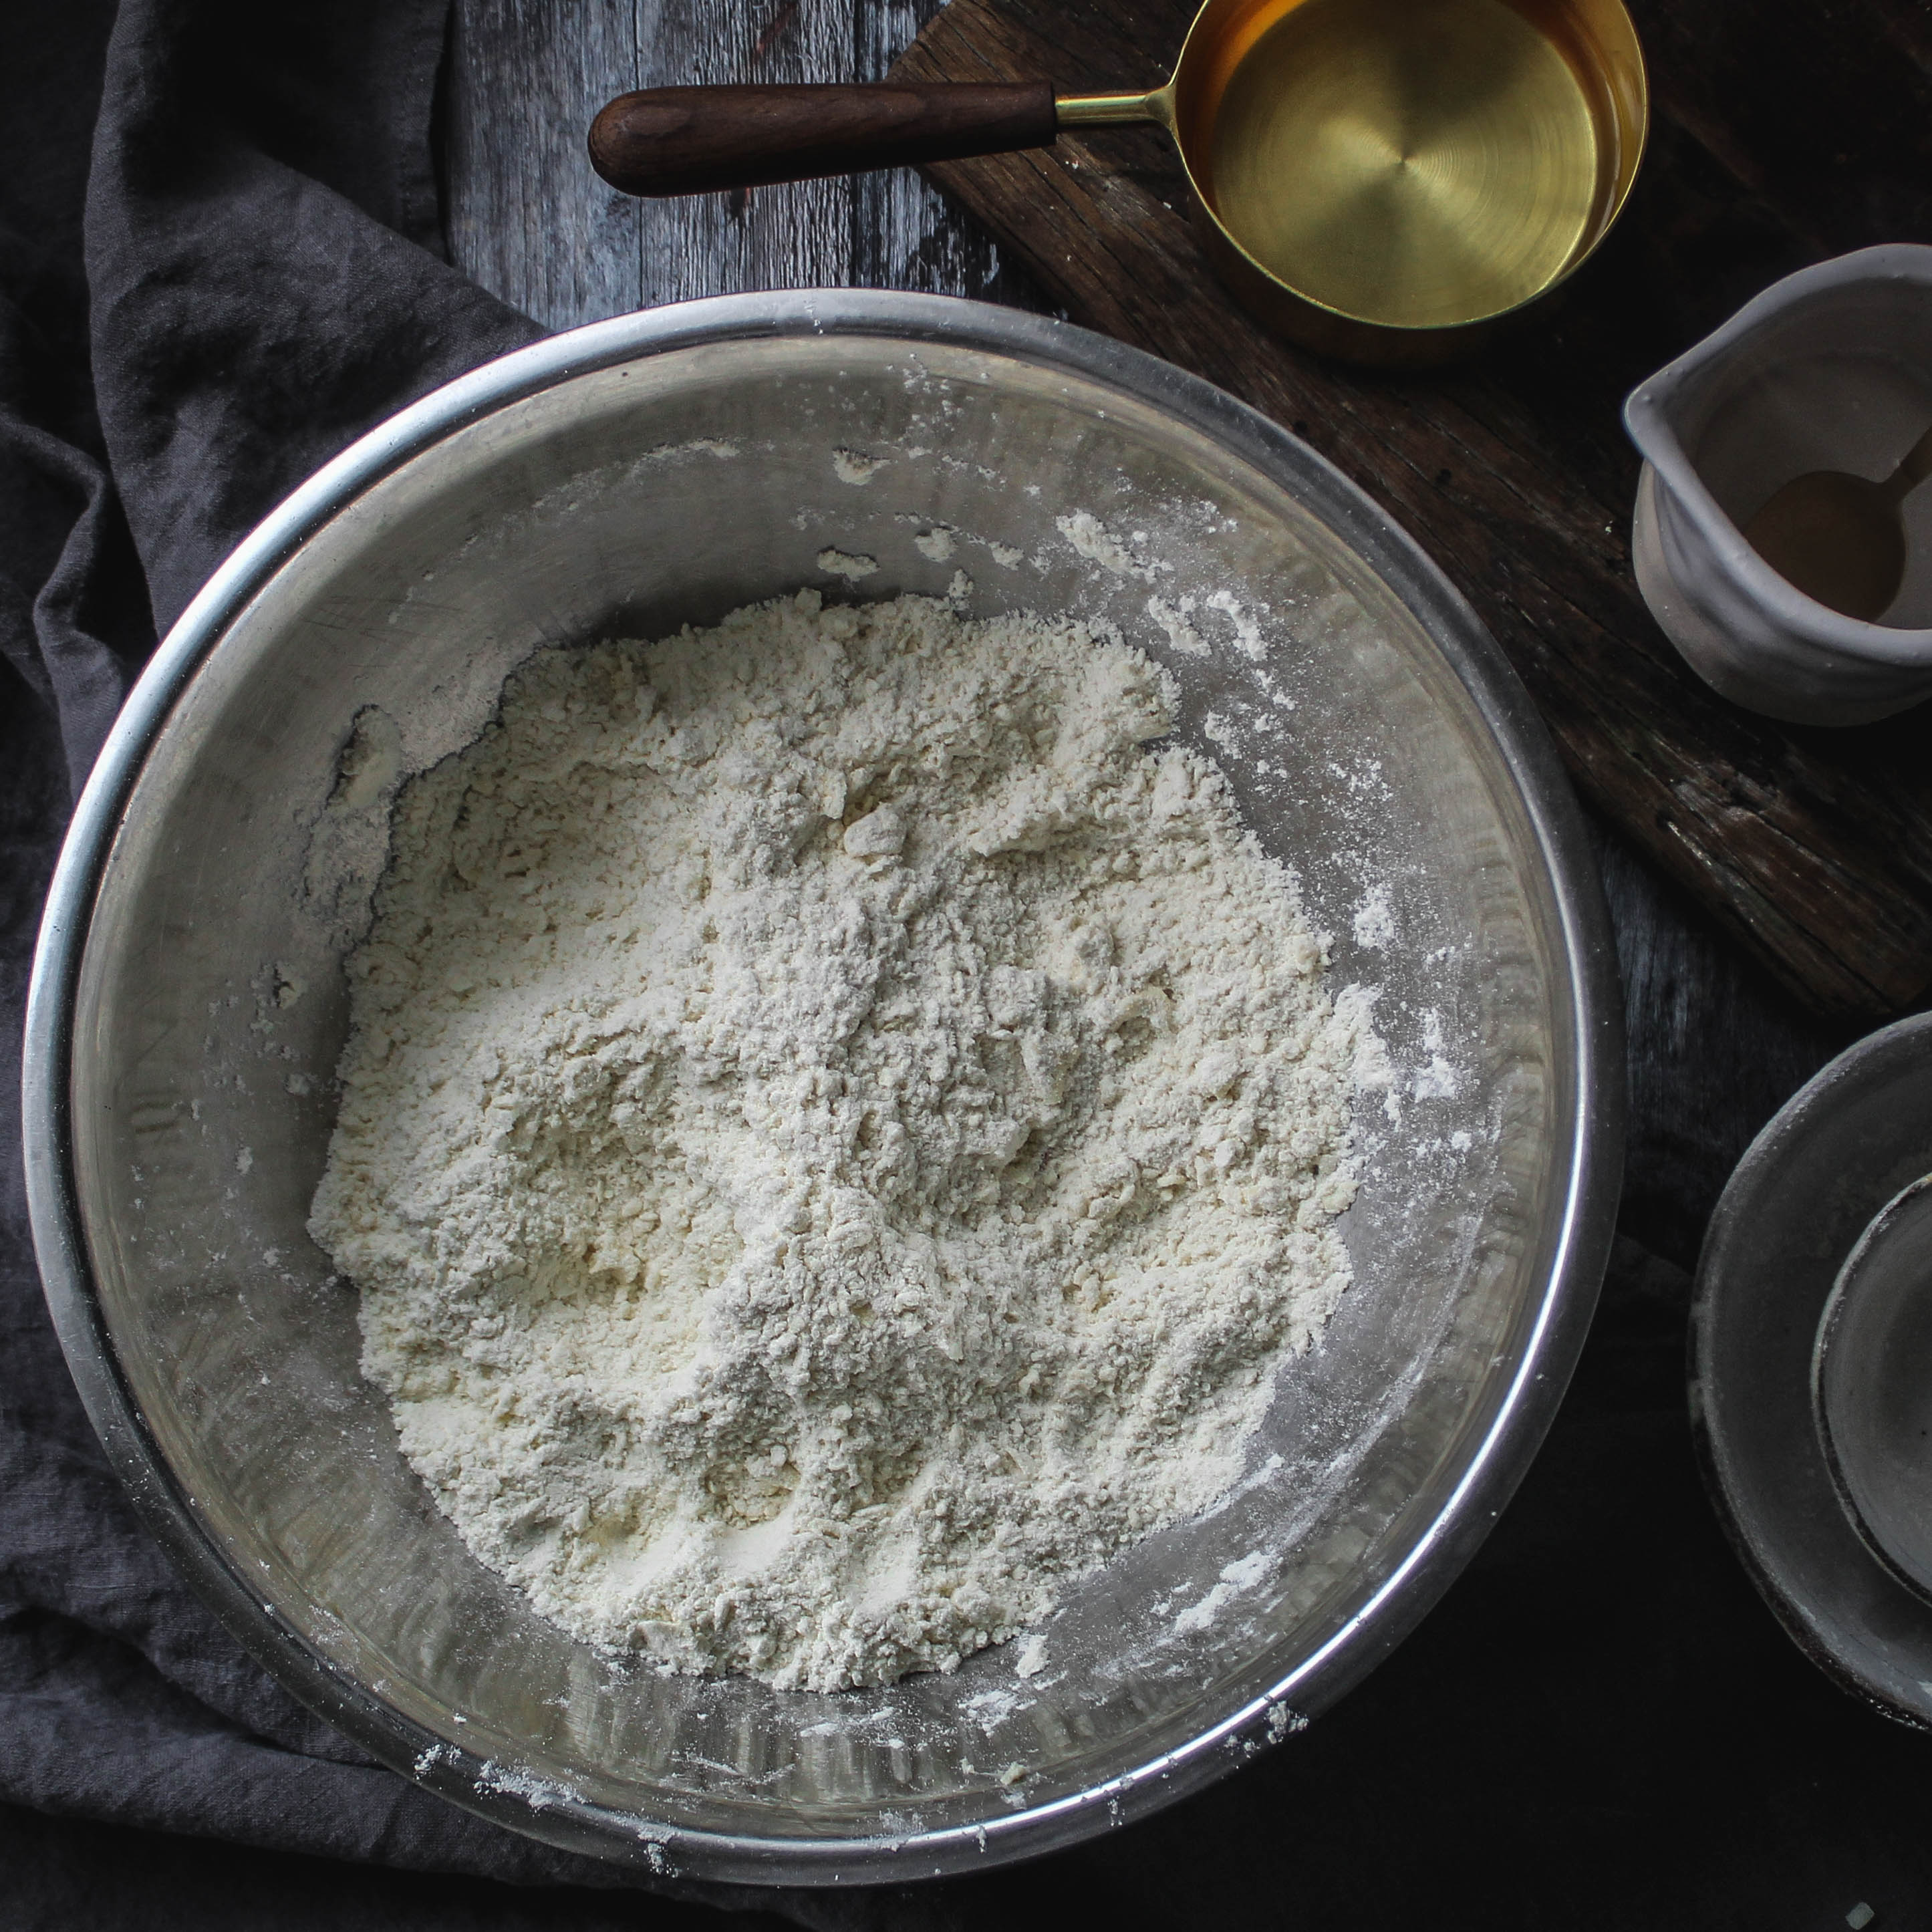
- Combine the plain flour and bread flour in a bowl and give it a little stir. Add the cubed butter and rub it in with the tips of your fingers until the mixture resembles fine breadcrumbs.
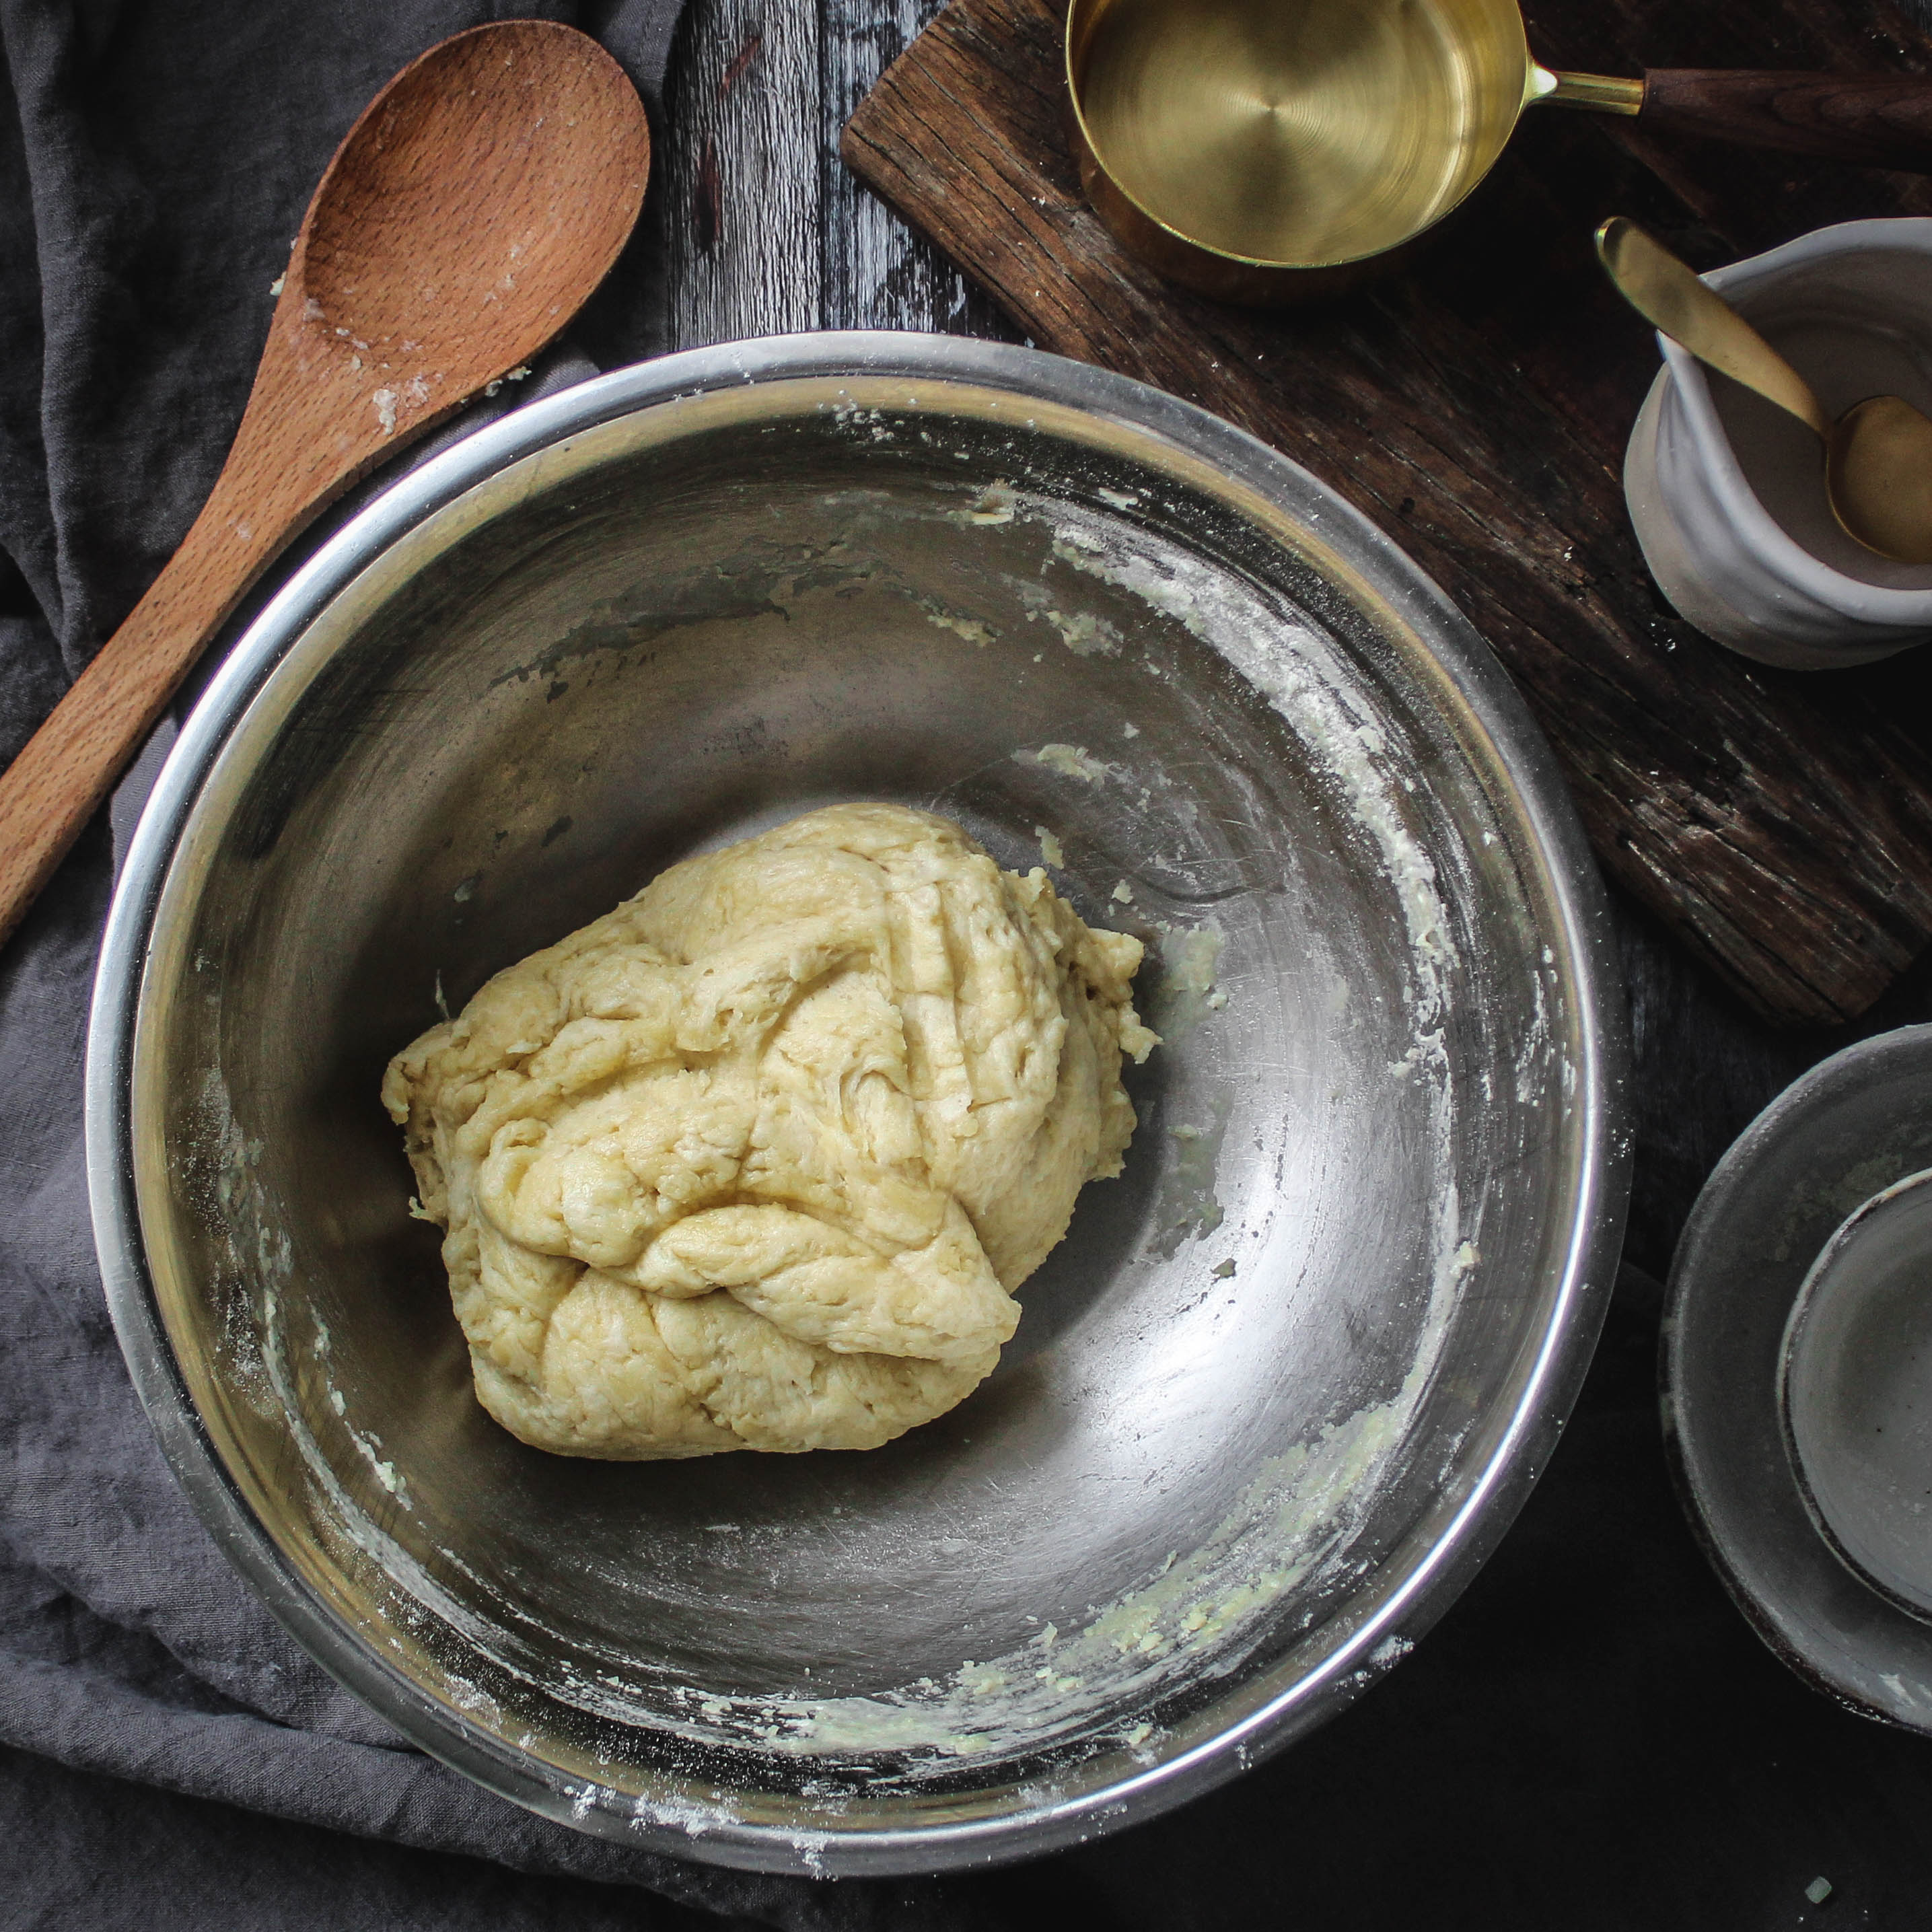
- Melt the lard either in the microwave or over a gentle heat on the stove. Dissolve the salt in the boiling water and add both liquids to the flour mixture. Give it a jolly good stir with a wooden spoon until the pastry has come together.
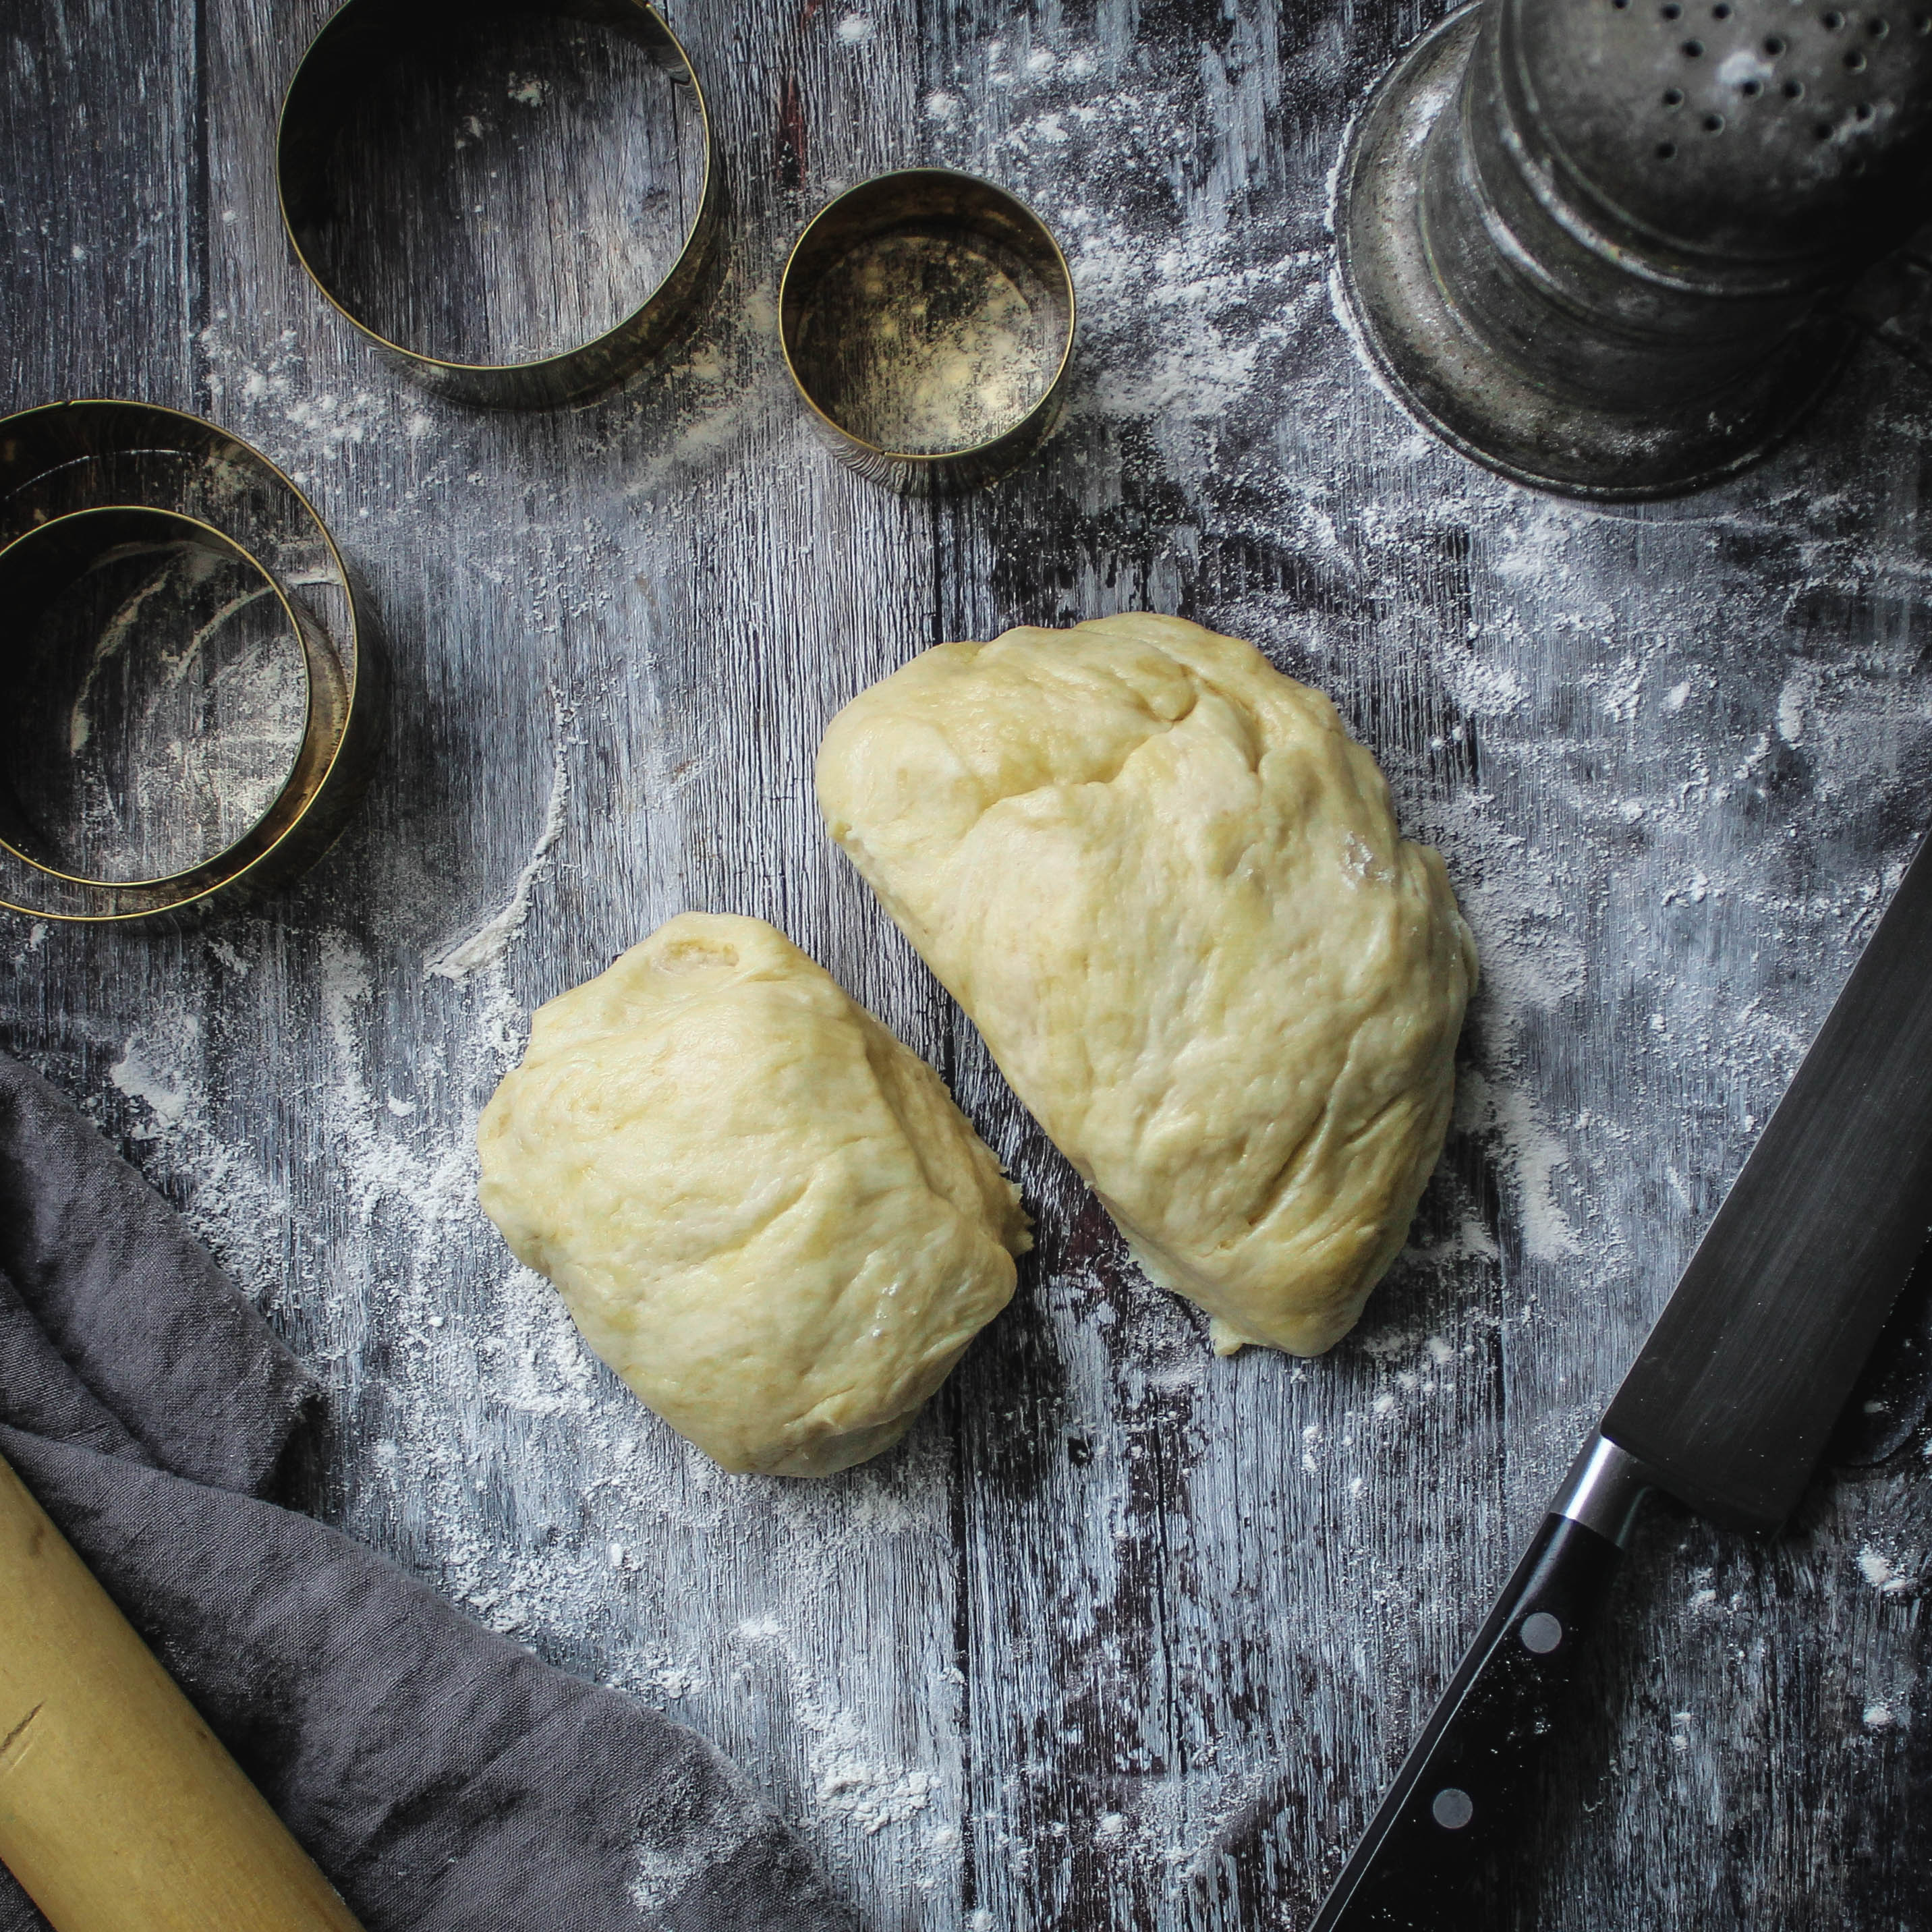
- Tip the pastry out onto a lightly floured surface, giving it a gentle knead if it still needs to come together. Divide the pastry into two portions, one a little larger than the other. Take the larger portion and roll it out into a sheet approximately 3mm thick. I find it helps to lightly flour the rolling pin as well as the work top to avoid any sticking.
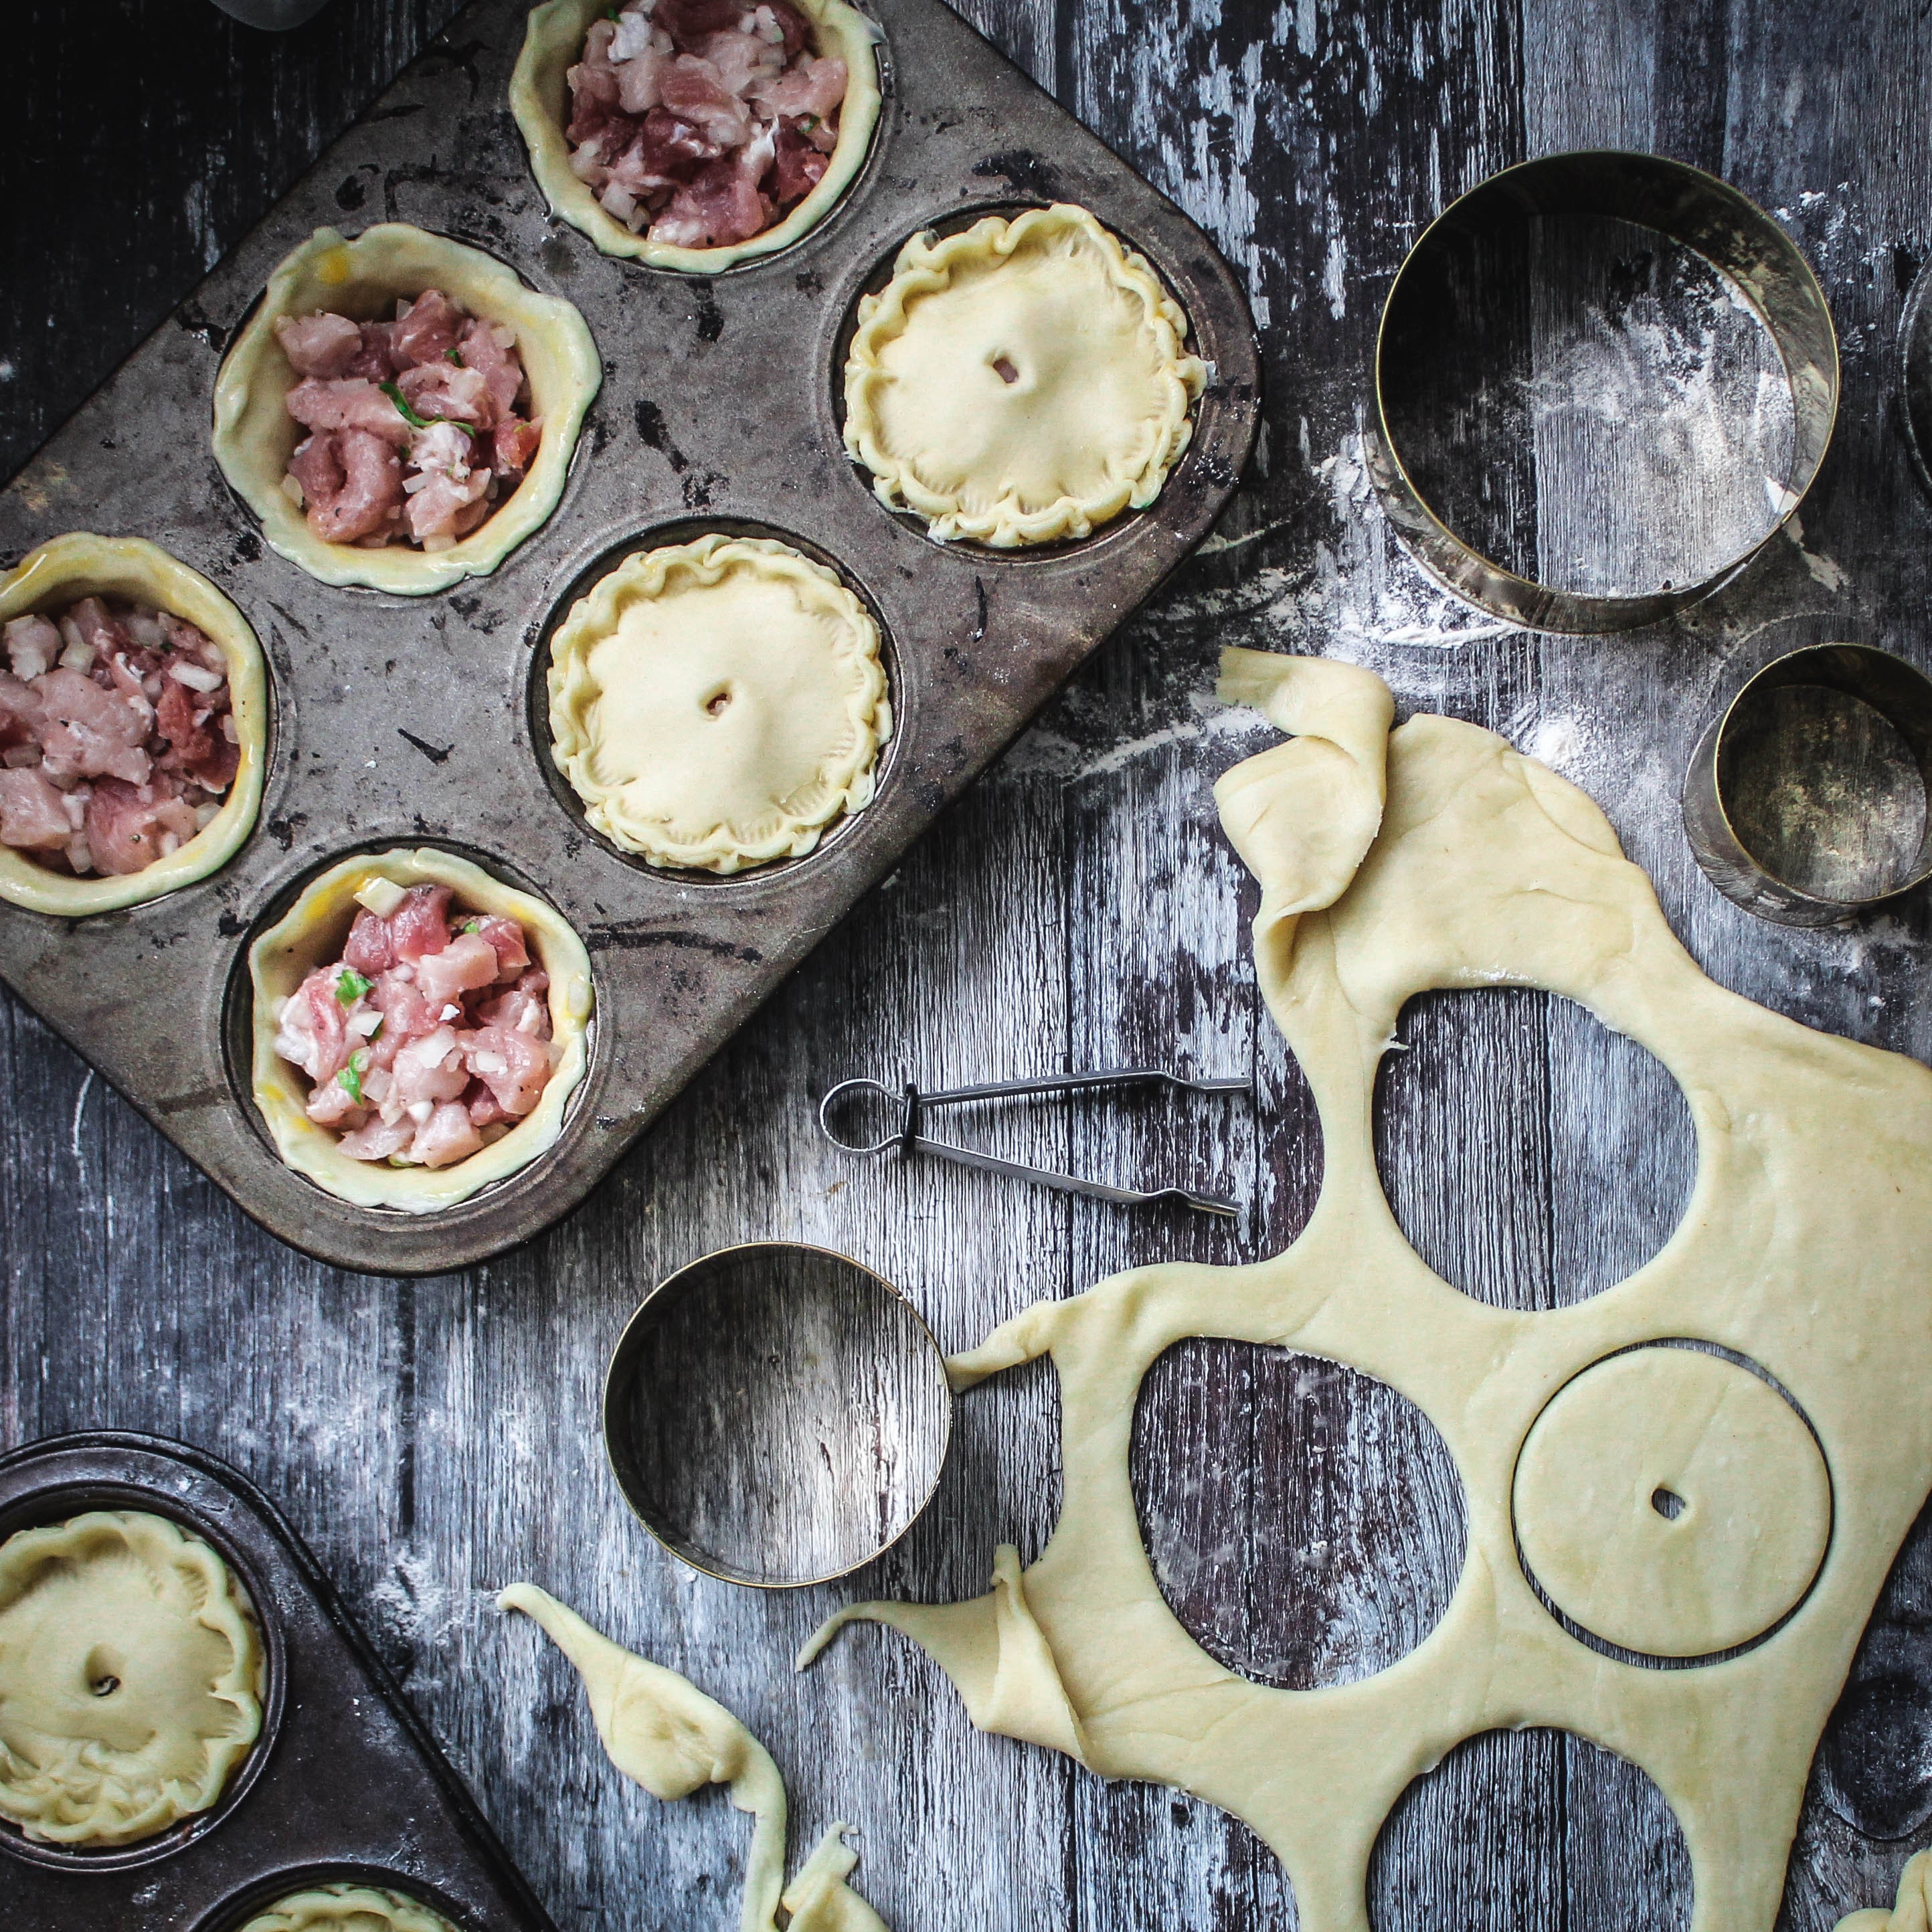
- Cut the pastry into 12 circles (or one large one) using cutters that are slightly larger than the indents in the muffin tin. Line each cavity in the tin with a circle of pastry, doing your best to have a bit of pastry overhanging at the top (this will make it easier to pinch the edges together when the lid goes on, although it’s not essential). It is completely normal for the pastry to try and shrink down as you do this, just pull it back up the sides with your fingers and press it into the tin. I find it easiest to just place the circle of pastry over the cavity, press down the top edges, and then gently push the centre of the circle to allow the pastry to drop down itself.
- Divide the filling between the pastry cases. The meat will shrink whilst baking so please do not worry if it looks a bit full. Shrinkage is to be expected, which is why the jelly is added post bake.
- Roll out the rest of the dough and cut out 12 smaller circles, poking a hole in the centre of each piece. Brush the edges of the pies with a little beaten egg before adding the lids and sealing the edges using your fingers or a pastry/sugarcraft crimper. If you have any issues with gripping your fingers together, I find using the handles of two teaspoons works just as well. Brush the tops of the pies with the rest of the beaten egg and bake in the oven for 50 minutes.
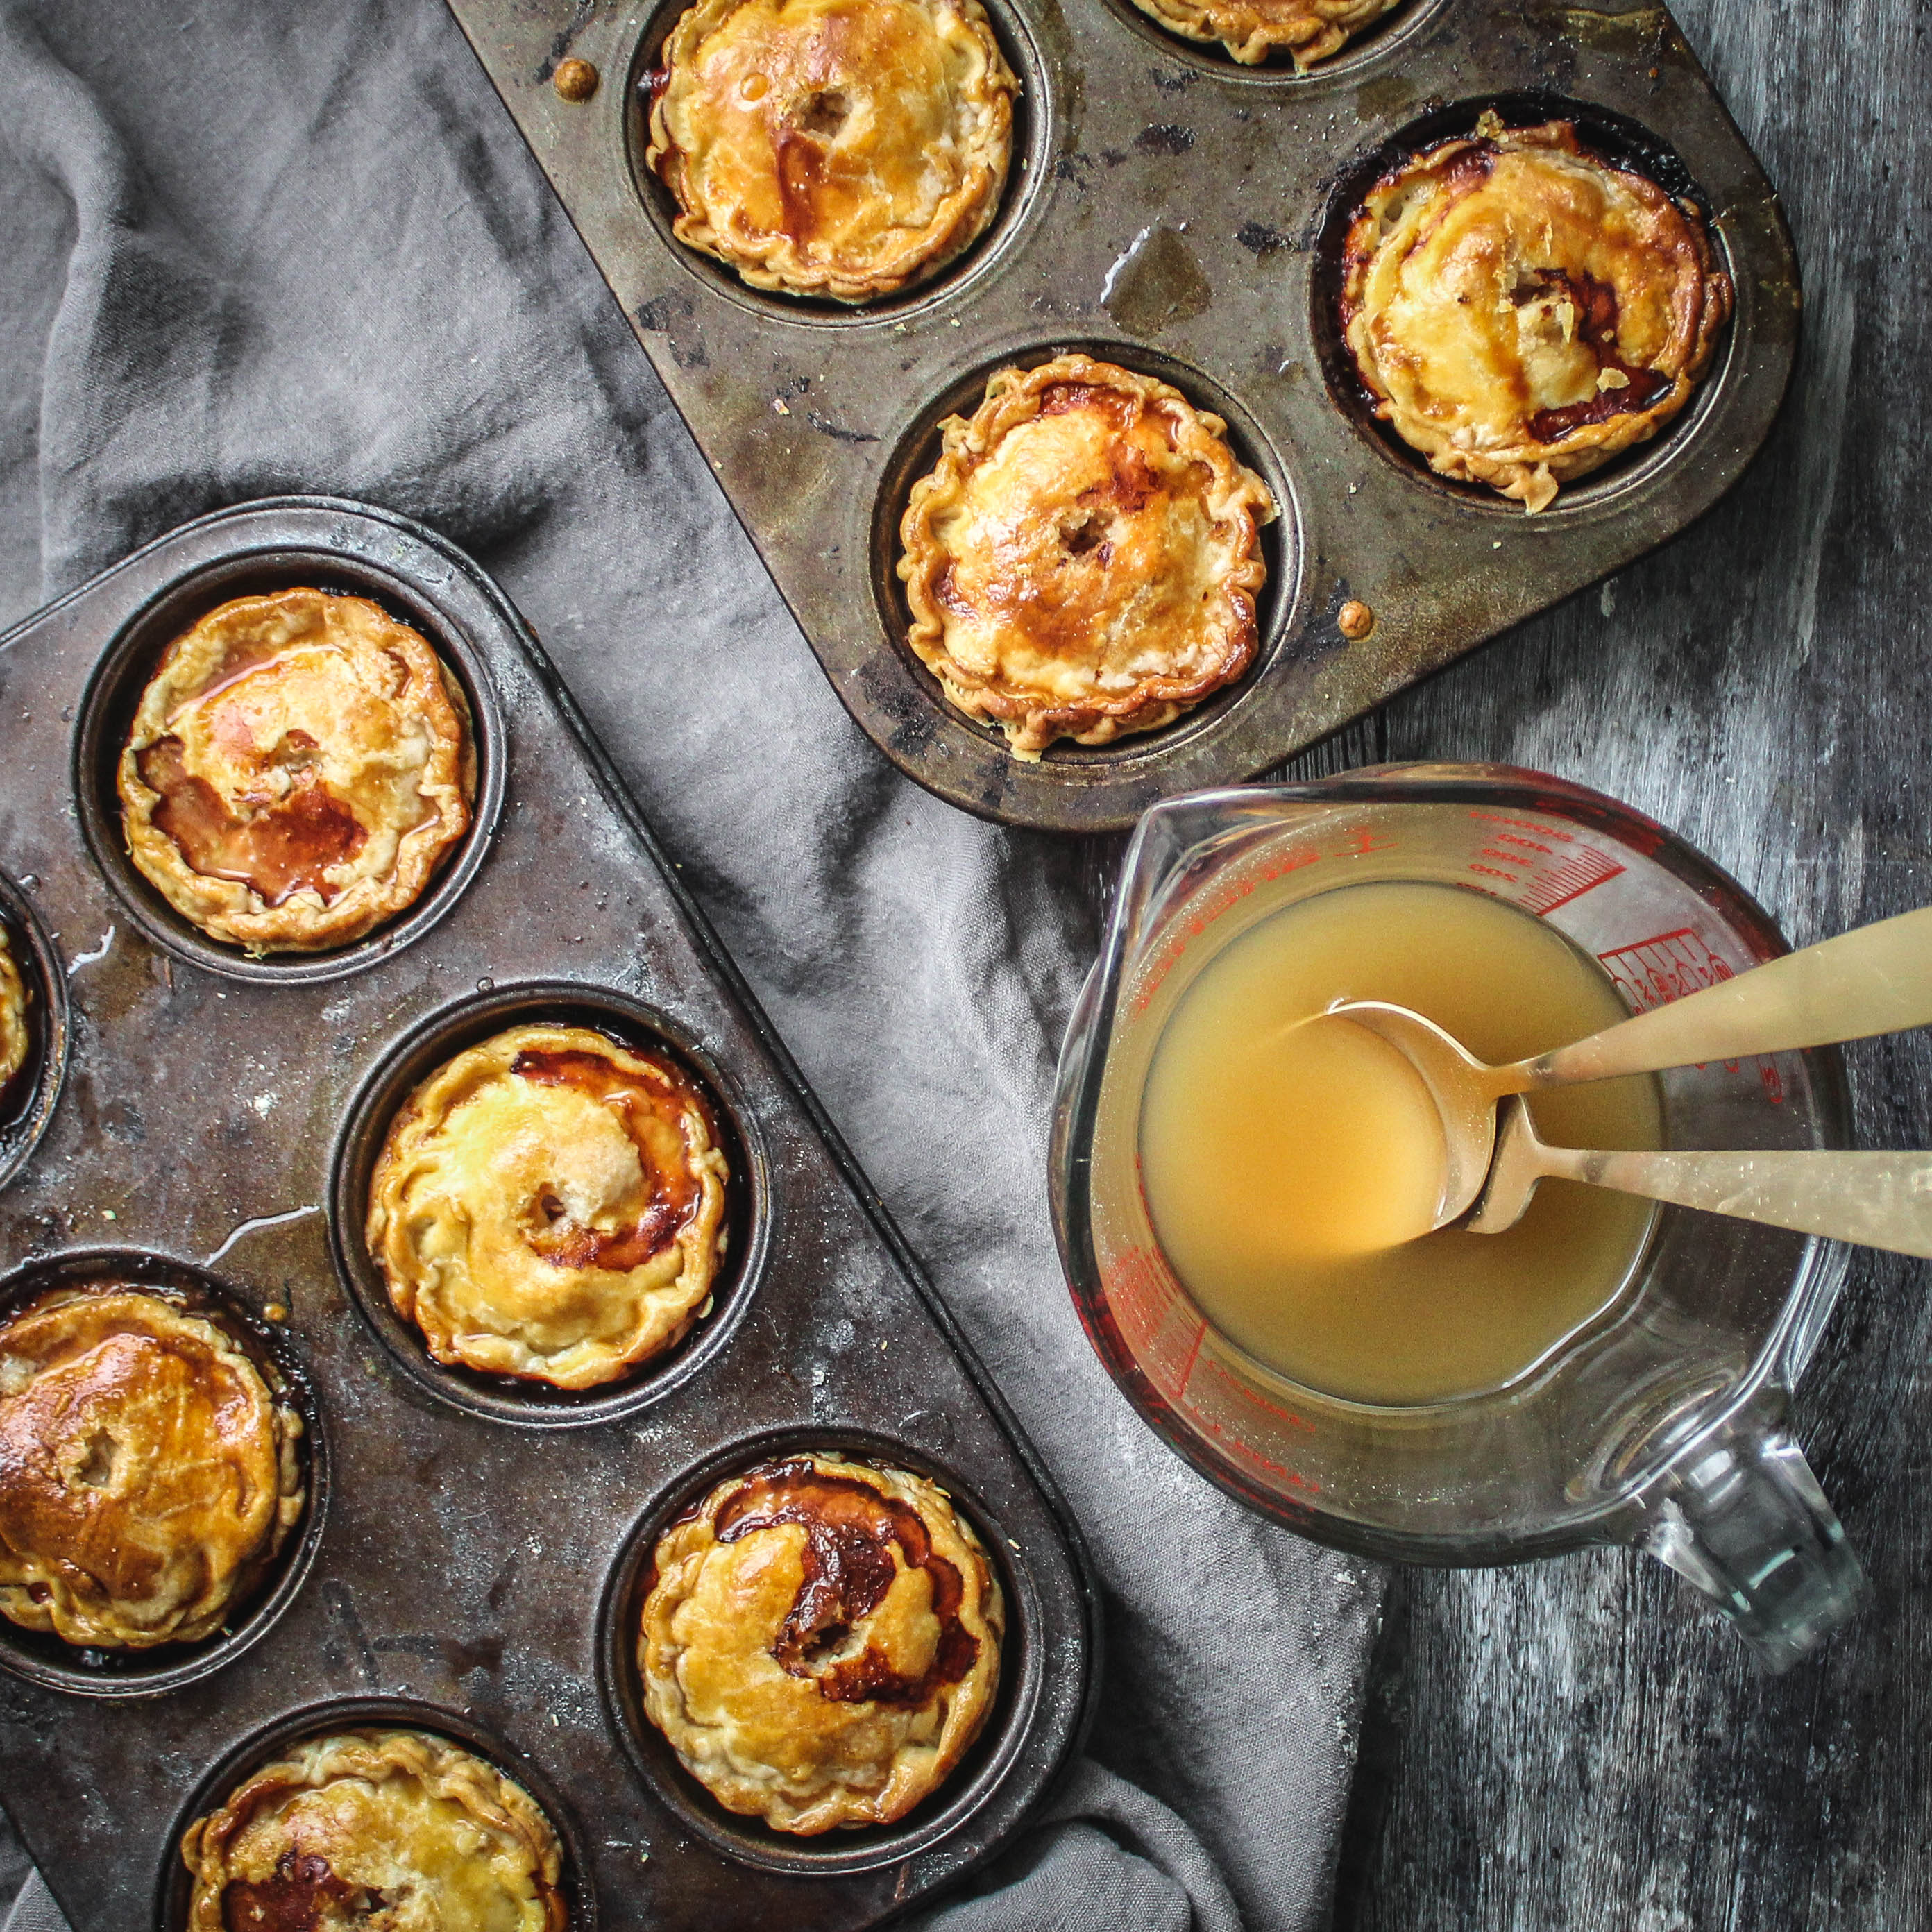
- Whilst the pies are in the oven, soften the sheet of gelatine in a bowl of cold water for 5 minutes before squeezing out any excess liquid. Dissolve the chicken stock cube in 300ml of boiling water and then whisk in the softened gelatine sheet.
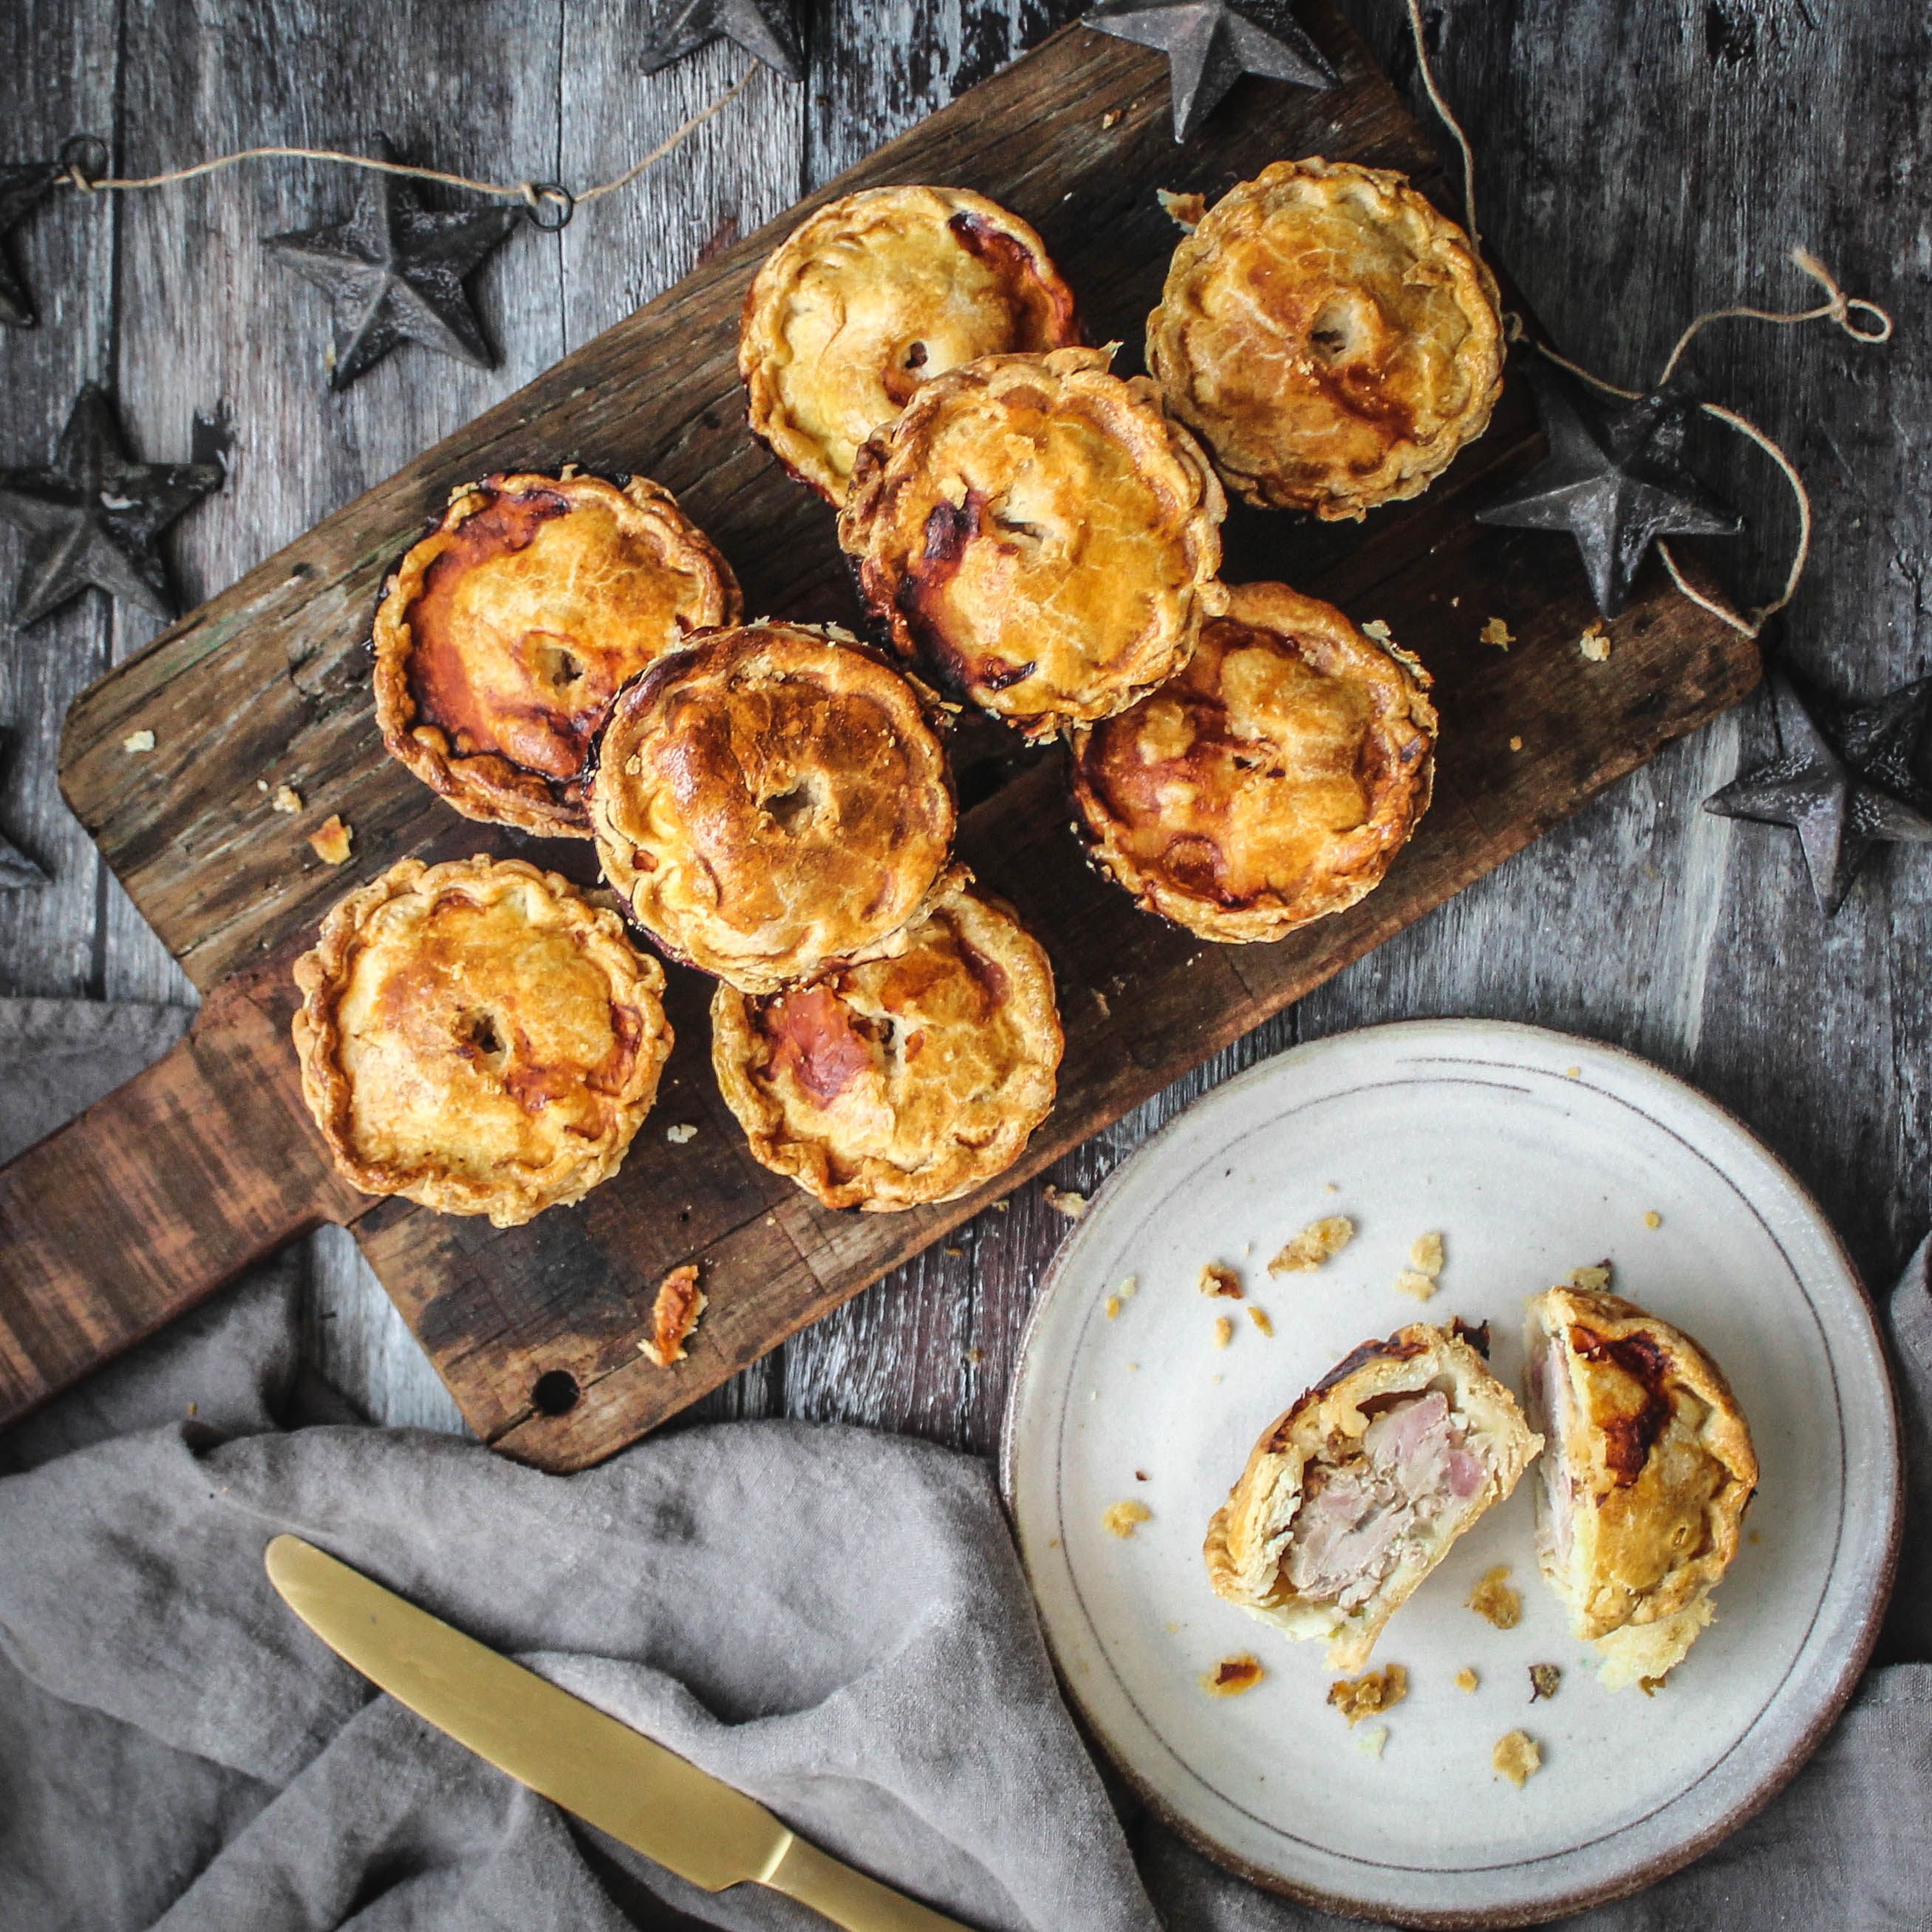
- Remove the pies from the oven but keep them in their baking tins. Give the holes on the lids another poke to make sure they’re clear, before pouring the stock and gelatine mix over the tops. I like to use a spoon to really make sure each pie gets a good amount of jelly filling, but this isn’t totally essential. Leave the pies to cool completely (preferably overnight) and keep refrigerated before enjoying within 3 days.
- If you want to give your pies a bit more of a kick, try spreading a spoonful of piccalilli, apple sauce, or sweet chilli sauce over the tops before leaving them to cool overnight.
I do hope this will give all you hot water pastry novices the confidence to give this a go. It’s not a difficult technique to master, but it certainly sounds impressive when you tell your friends what you’ve been whipping up in the kitchen. If you don’t get it right first time then the worst that could happen is you might have to make this twice, which in turn, means you would have to eat it twice. Not necessarily a bad thing in my book.
Happy baking!
Who is The Boho Baker?
The Boho Baker describes herself as “Baker. Writer. Forager. Wanderer. Organic ingredient and edible floral Enthusiast. Member of the Guild of Food Writers.” Very local to our HQ in Preston, she’s our fabulous professional guest recipe writer, and champion of celebrating the best of our local produce. Follow her on instagram @thebohobaker
Would you like your question answered next month? Simply fill in the form below: